

Backgrounds that help wildlife stand out
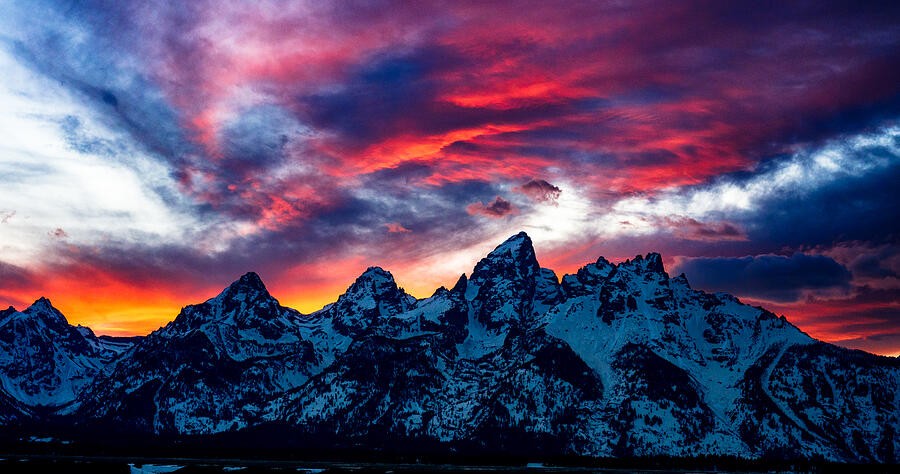
Eight wildlife photographs show how contrast, nearby shapes, habitat, and breathing room can make an animal easier to see without removing the setting.
 View this photograph & print options →
Finding the animal is only the beginning of a wildlife composition. The surrounding water, grasses, branches, and mountains determine how clearly its shape reads. These examples focus on background choices rather than assumed camera settings. Make adjustments only from a safe, permitted position; never approach, feed, or disturb wildlife to improve a frame.
1. Look behind the face first
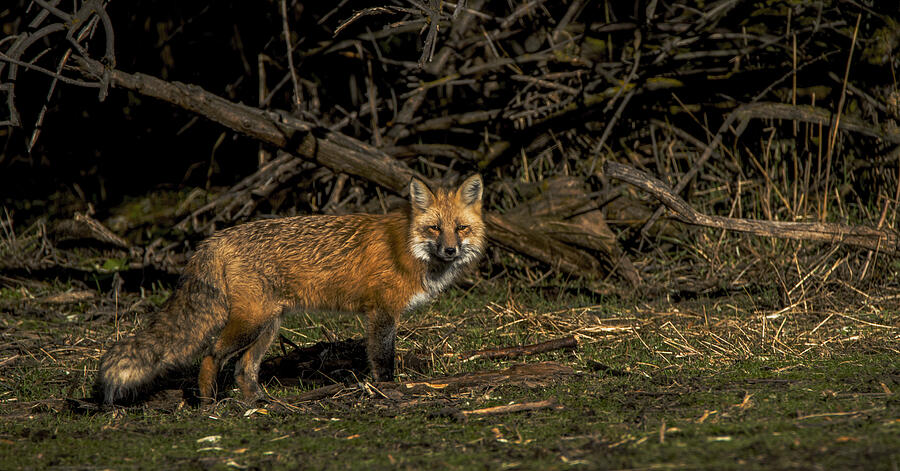
The fox stands among branches and uneven patches of light. Before judging the whole image, inspect the space immediately behind its head. Does a twig appear to cut across an ear? Does a bright patch compete with the face? In a similar scene, a small reframing from where you already stand may change those relationships. If the animal moves naturally, wait for a cleaner alignment instead of trying to direct it. The background does not need to disappear. It needs to leave the important features readable enough that the viewer can recognize the subject without searching.
2. Use a change in tone to separate the outline
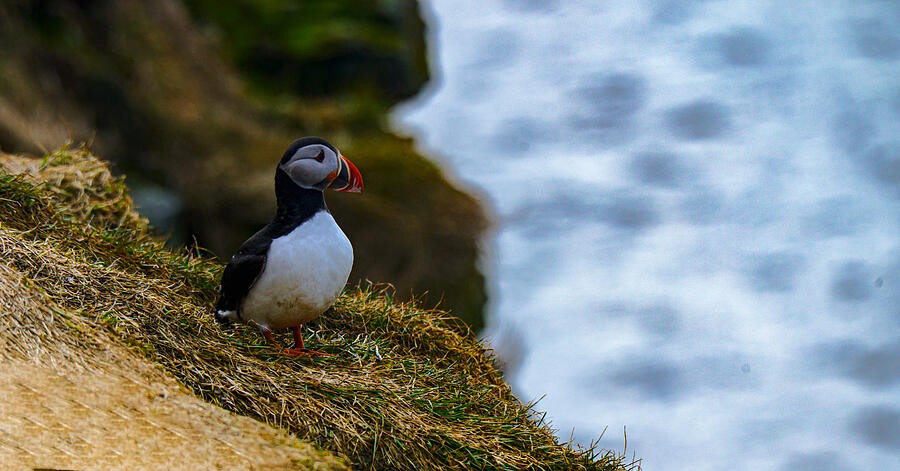
The puffin sits between a grassy edge and pale water. That difference in tone helps its silhouette read. Trace the outline from the beak across the head and down the back; notice where the background supports it and where the shapes become less distinct. When photographing a similar subject, consider background brightness as well as focus. A blurred background can still compete if it contains a very bright patch. Keep your distance and let the animal choose its position. A strong outline is useful, but it is never worth disturbing a resting bird.
3. Watch dark subjects against bright habitat
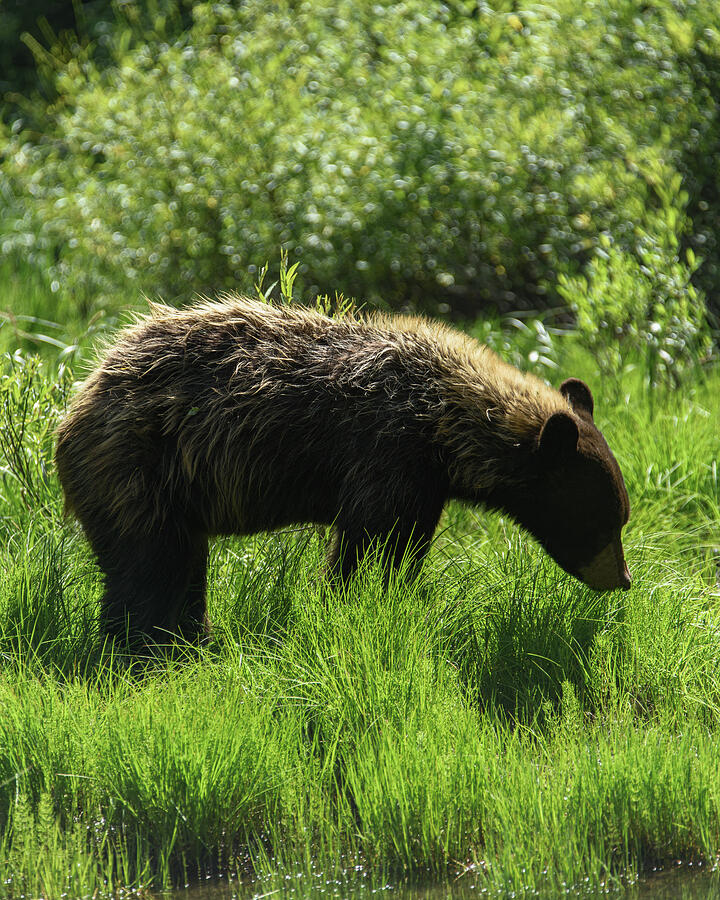
The bear is a dark mass within green vegetation. That contrast can make the subject immediate, but the brightest grasses may pull attention away from its face. In editing, compare the overall balance before lifting every shadow. Preserve the animal’s natural dark tones while retaining useful texture where the file supports it. Do not assume that a finished web photograph reveals how much detail was present in the original. If the head is difficult to read, consider whether a different captured frame is stronger before trying increasingly aggressive local adjustments.
4. Keep the landscape when it explains the encounter
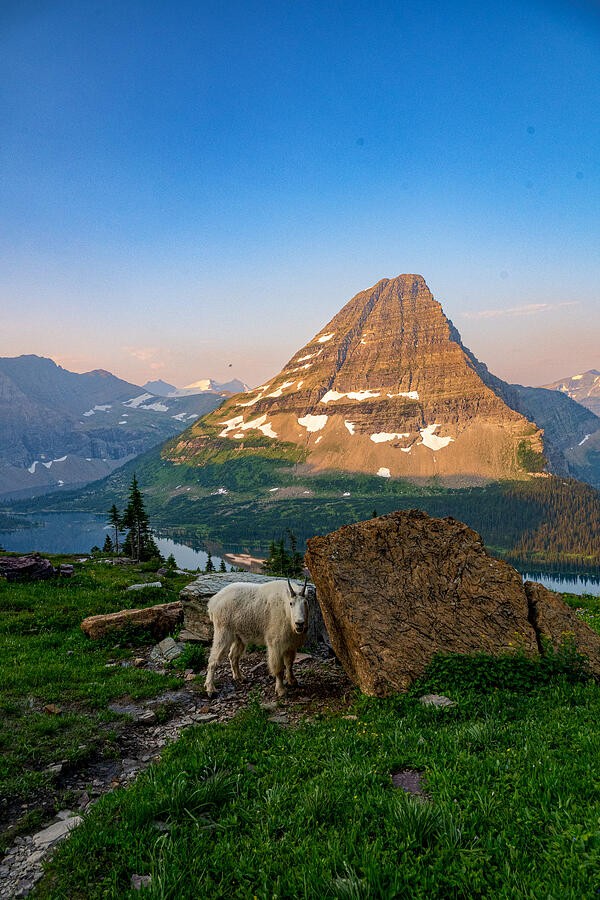
The mountain goat is small beneath a large peak, and the setting is part of the subject. This is an environmental wildlife photograph rather than a close portrait. Decide which relationship matters: the animal’s expression or its place in the high country. For the latter, leave enough habitat to explain scale and position. Check that the animal does not merge into a similarly bright rock. A small subject can remain effective if its outline is clear and the surrounding lines lead toward it. More magnification is not automatically a stronger account of the encounter.
5. Choose which details deserve attention
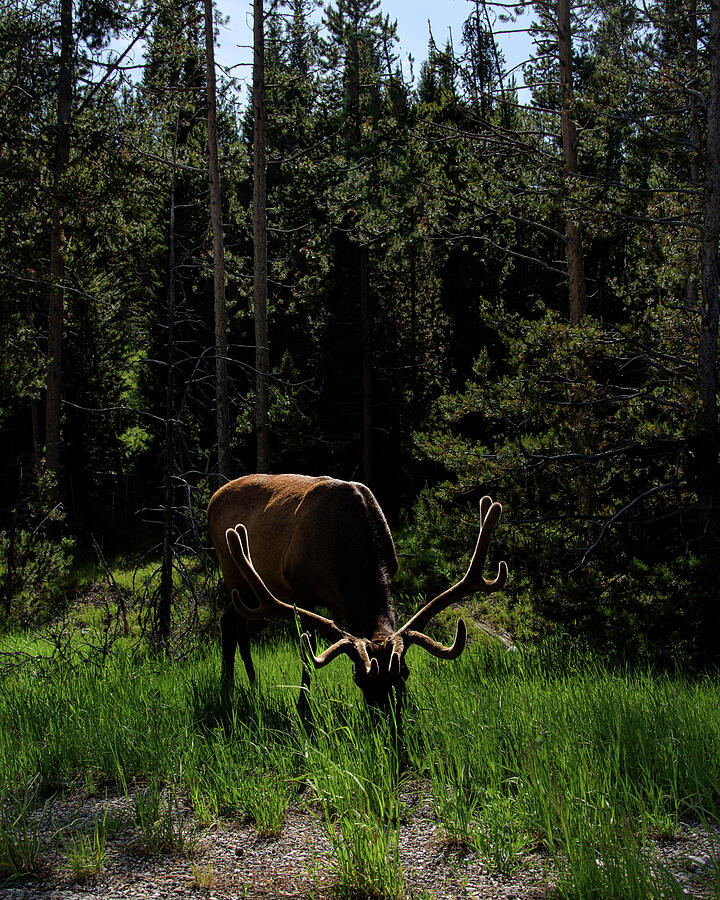
The elk stands among trunks, grass, and changing light. Its antlers add fine shapes that can disappear against branches. Scan the background around those details rather than concentrating only on the body. When several frames are available, compare the visibility of the antlers and face before selecting the sharpest-looking patch of fur. A technically crisp frame may still be visually tangled. Avoid explaining the composition with heavy editing that removes habitat. Often the better choice is a different moment in the sequence, when the animal’s natural movement creates a more readable arrangement.
6. Give the head room even when the body is still
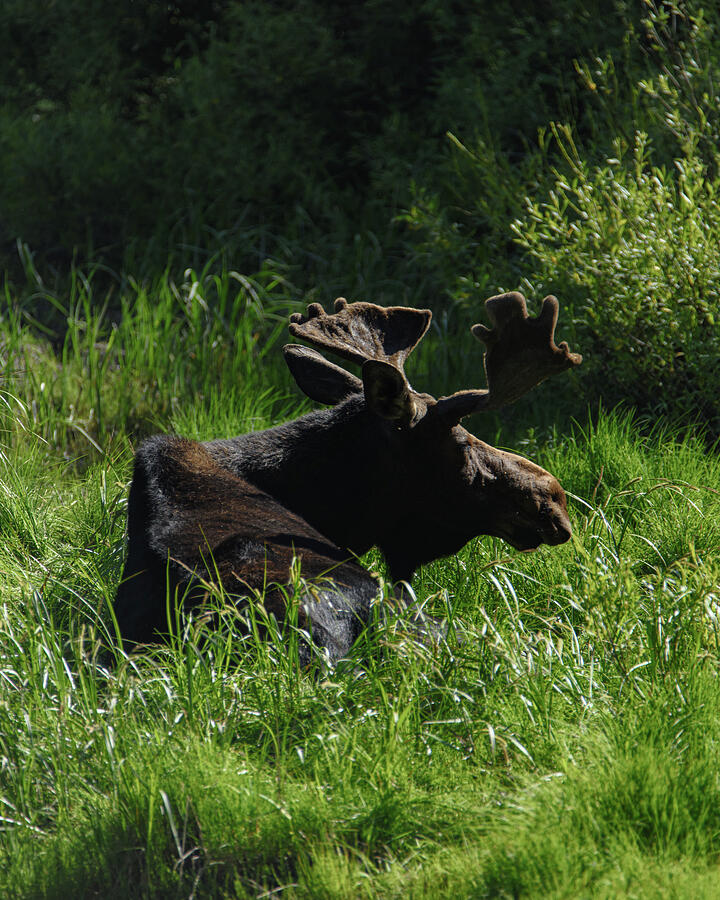
The resting moose sits among tall grasses, with its head rising into a different part of the background. Stillness gives you time to assess spacing, but it does not grant permission to move closer. Notice the room above the ears and in front of the muzzle. Compare a tight portrait crop with a looser view that retains the meadow. Check both at a small size. The successful frame should make the posture understandable. Leave enough habitat to convey rest and surroundings without allowing an unrelated bright area to become the strongest feature.
7. Separate useful texture from visual competition
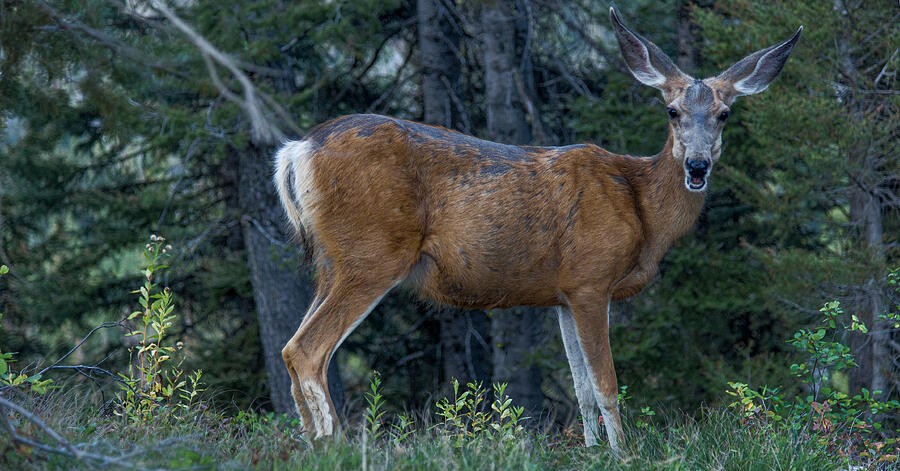
The deer is framed by woodland detail, an appropriate setting that can also become busy. Background texture is not a flaw by itself. Ask which lines help explain the habitat and which make the face harder to read. In a future encounter, work with the angle already available and wait for natural changes in posture. In the edit, try modest tonal adjustments and compare them with the untouched image. Keep fur and foliage believable. Strong separation is a relationship between subject and setting, not a requirement to turn every background into a uniform blur.
8. Leave space for the direction of movement
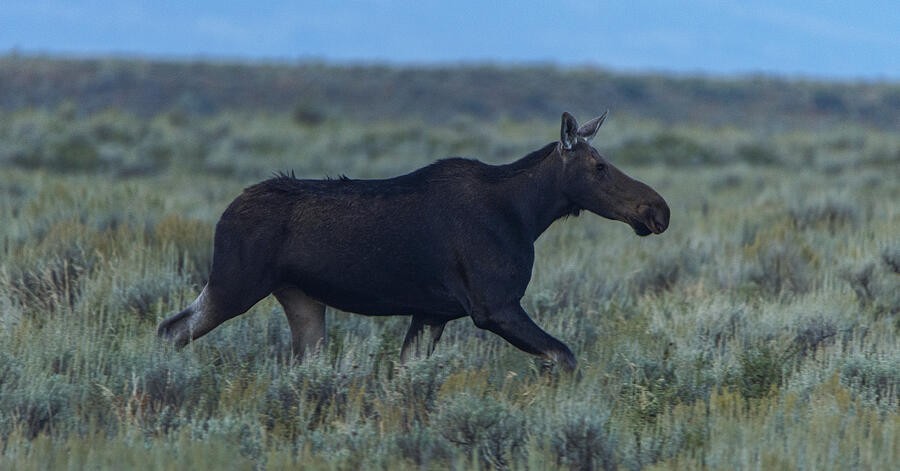
The moose crosses a comparatively open meadow, giving its profile room to read against the distant vegetation. Look at the space ahead of it as well as the gap around its legs. A crop that crowds the muzzle can make movement feel abruptly stopped. Compare a frame with more room in front and one with a more centered balance. Use the version that supports the actual gesture. Never add implied action through a misleading caption. A quiet crossing can be compelling on its own when the outline, direction, and surrounding space work together.
Your field exercise
Choose eight existing wildlife frames from one or more encounters. Rate each for a readable face, a clear outline, useful habitat, and deliberate space around the animal. Select two with different strengths: a closer portrait and an environmental view. Explain why their backgrounds work. Keep originals untouched and use only photographs made without disturbing wildlife.