Reflections: balance and broken symmetry
Eight lake photographs explore when to keep a reflection, when to break the symmetry, and how water changes the balance of a landscape.
 View this photograph & print options →
A lake is more than a mirror. Its surface can repeat a shape, soften a landscape, carry color, or simply make room around a subject. These eight photographs offer different starting points for deciding what the water contributes. Study the finished images as visual examples rather than evidence of the original camera settings.
1. Ask what the reflection contributes
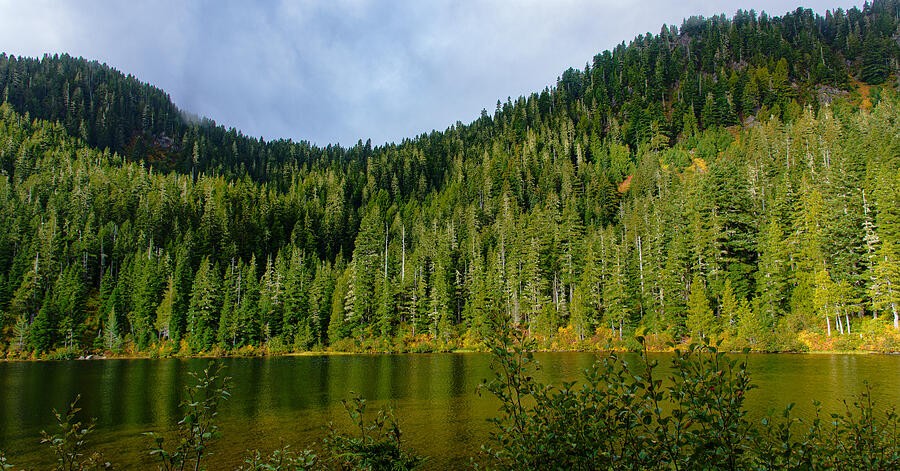
The evergreen hillside repeats in the water, joining the upper and lower halves of the frame. Before making a similar photograph, describe the reflection in one sentence. Does it repeat a recognizable shape, carry a color, or create a quieter area beneath the trees? That answer gives you a reason to include it. Compare the shoreline with the reflection beneath it and notice which details remain readable. If the water adds only an empty strip, a tighter composition may work better. If it completes the subject, allow enough room for that relationship to feel intentional.
2. Try a centered shoreline before dismissing it
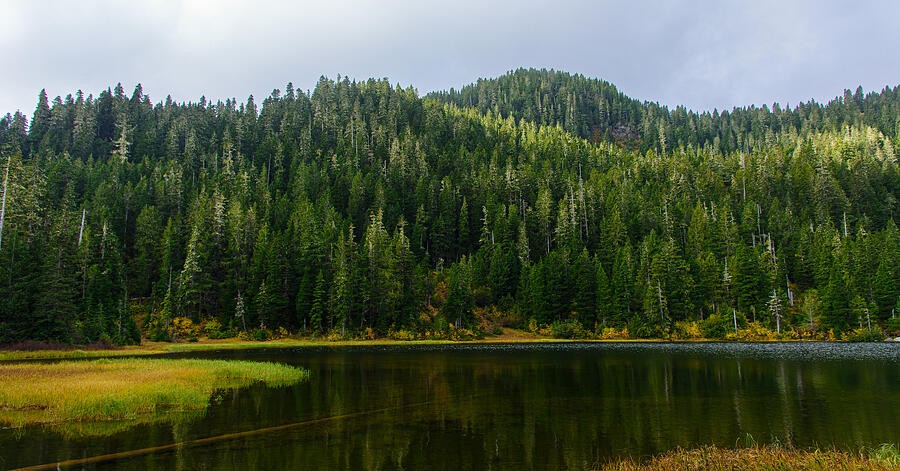
A centered division can suit a scene built around repetition. Here the wooded hill and pale strip of shore offer a clear boundary between land and water. Imagine shifting that boundary upward, then downward. Each choice changes which half feels dominant. Try those alternatives from the same safe position before deciding. A rule about keeping horizons away from the center is a starting exercise, not a verdict. Judge the relationship of the shapes and the amount of useful information on either side. Keep the version in which the water has a clear role.
3. Use an interruption to give the mirror a subject
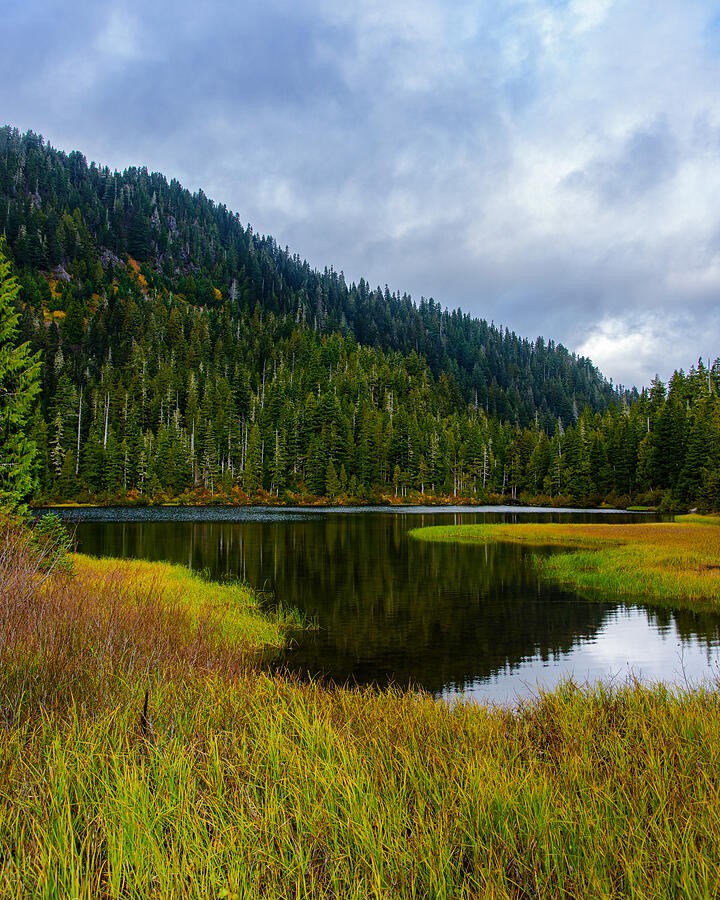
The golden grasses interrupt the darker shoreline and its reflected colors. Look for a feature that prevents a symmetrical scene from becoming merely repetitive: a patch of reeds, a fallen branch, or a change in the bank. Such an interruption can become the main subject while the reflection supplies context. Move your framing rather than moving natural objects. Check that the feature has space around it and does not merge awkwardly with the opposite shore. At a small viewing size, you should still be able to identify why that particular part of the lake matters.
4. Do not demand a perfect mirror
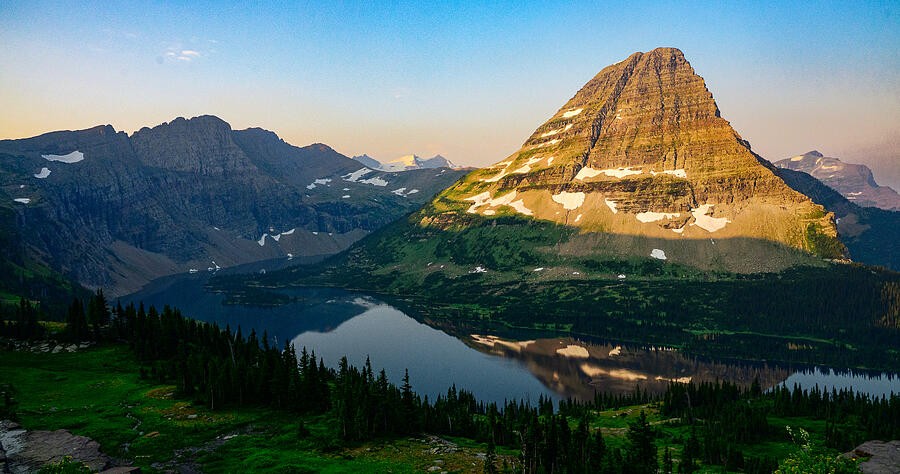
The illuminated mountain dominates this view, while the lake supplies a dark, quieter shape below it. Water does not need to repeat every peak to contribute to the photograph. Sometimes its strongest job is to separate the slopes or give the eye somewhere to rest. Compare the area occupied by the mountain with the area occupied by the lake. Would a tighter crop remove useful breathing room? In the field, wait briefly to see how wind changes the surface, but do not assume the calmest moment must produce the strongest image.
5. Let color carry the water
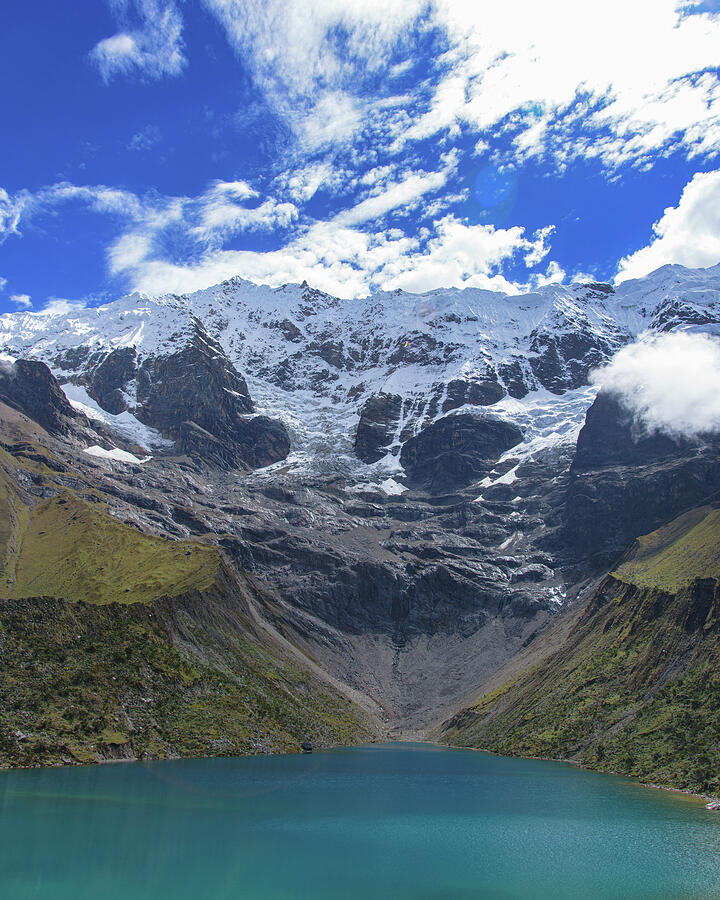
The blue-green water below the snowy peaks is compelling without a detailed reflection. This is a useful contrast to the wooded lake examples. When the surface acts as a field of color, concentrate on its outline and its relationship with the surrounding rock. Avoid pushing saturation until the water becomes disconnected from the rest of the scene. Compare your edit with a restrained version and look at the transitions along the shore. The goal is to preserve the relationship between cool water, pale peaks, and darker slopes rather than make every part equally vivid.
6. Introduce a human-scale foreground
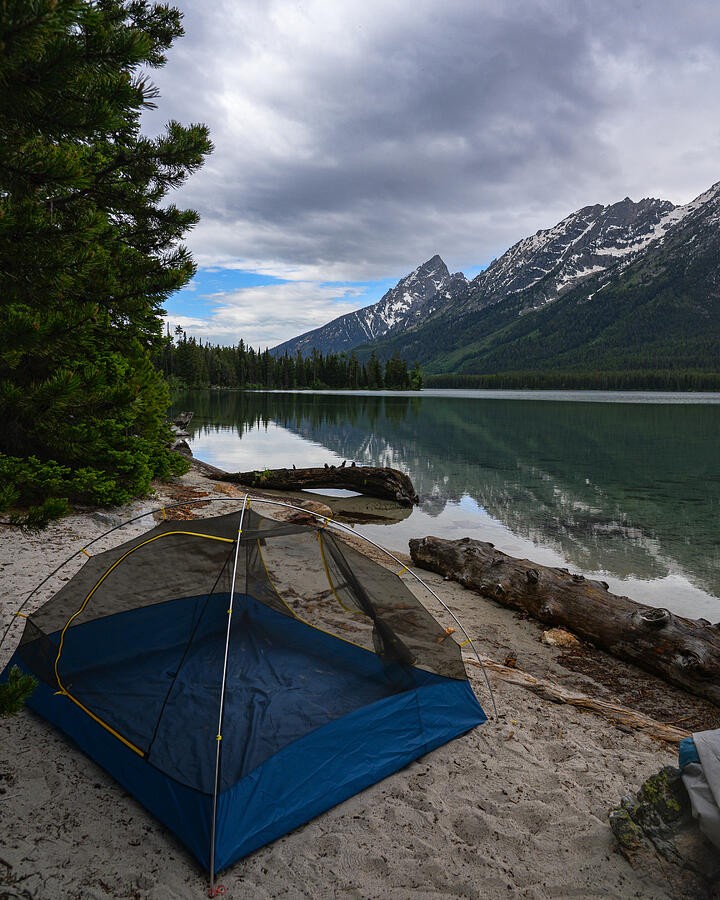
The lakeside tent turns the water and mountains into a place someone is experiencing. A foreground object can break the symmetry and establish scale, but it also becomes a strong claim on attention. Ask whether you want a landscape photograph or a picture about being beside the lake. Both can work, but they need different framing. Keep the edges of the foreground deliberate, and watch for bright fabric that overwhelms the distant view. Work from your existing campsite or an established access point; a composition is not a reason to disturb the shoreline.
7. Read the lake as a shape from above
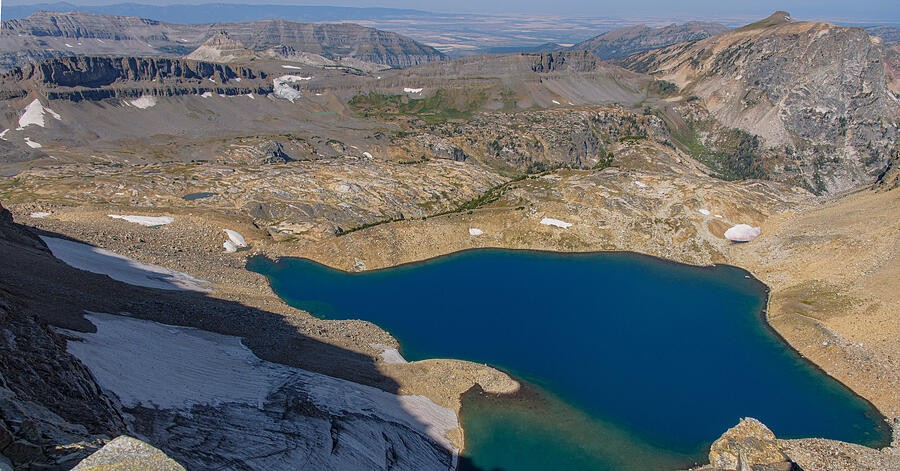
From a high viewpoint, this alpine basin becomes a strong blue shape within pale rock. Instead of looking for mirrored scenery, follow the boundary of the water around the frame. Notice where the shoreline changes direction and how those turns lead toward the surrounding slopes. An elevated view can simplify the lake while introducing busy rock texture around it. Compare a frame that includes the setting with one that concentrates on the basin. Choose the wider version when the surrounding terrain explains the place, and the tighter version when the outline itself is the subject.
8. Review the whole frame, not only the reflection
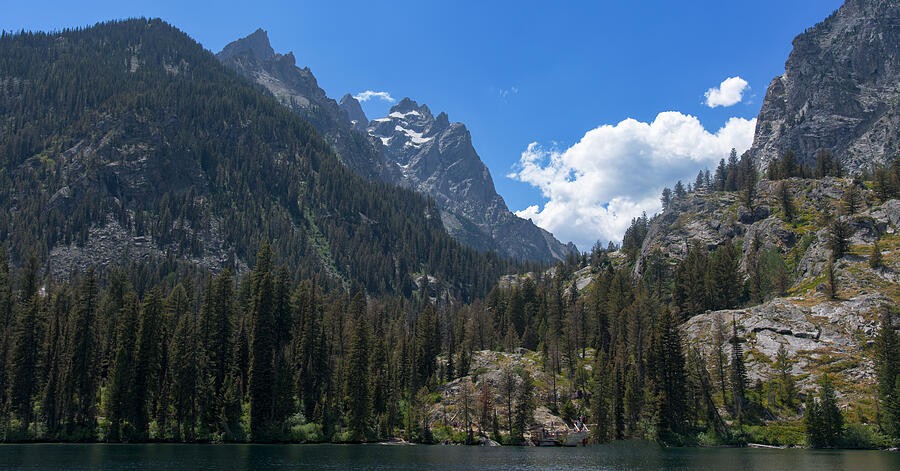
The water sits beneath a mountain wall and between nearby trees. Finish your review by looking at every layer: the near edge, the surface, the shoreline, and the peaks. A good reflection cannot rescue an accidental crop of an important tree or a distracting bright corner. Review the image at thumbnail size to judge balance, then enlarge it to inspect edges. Compare a version with more water against one with less. Keep the one that gives the scene a coherent structure. The amount of reflection is a creative decision, not a measure of how successful the photograph is.
Your field exercise
At one accessible lakeside viewpoint, make three compositions: one emphasizing repetition, one with an intentional interruption, and one treating the water as color or negative space. Preserve all three originals. Write one sentence explaining the role of the water in each, then choose a favorite at thumbnail size. If there is no reflection, work with the surface you have rather than forcing the exercise.