Forest photography: finding order without losing atmosphere
Eight forest photographs explore subject separation, camera position, mist, color, and a disciplined editing process.
 View this photograph & print options →
Forests are difficult because everything can seem equally detailed. A good composition does not need to remove that richness; it needs to tell the viewer where to begin. These eight images offer different ways to organize trunks, foliage, paths, and water. The techniques are practice suggestions, not reconstructed capture settings.
1. Choose a subject smaller than the forest
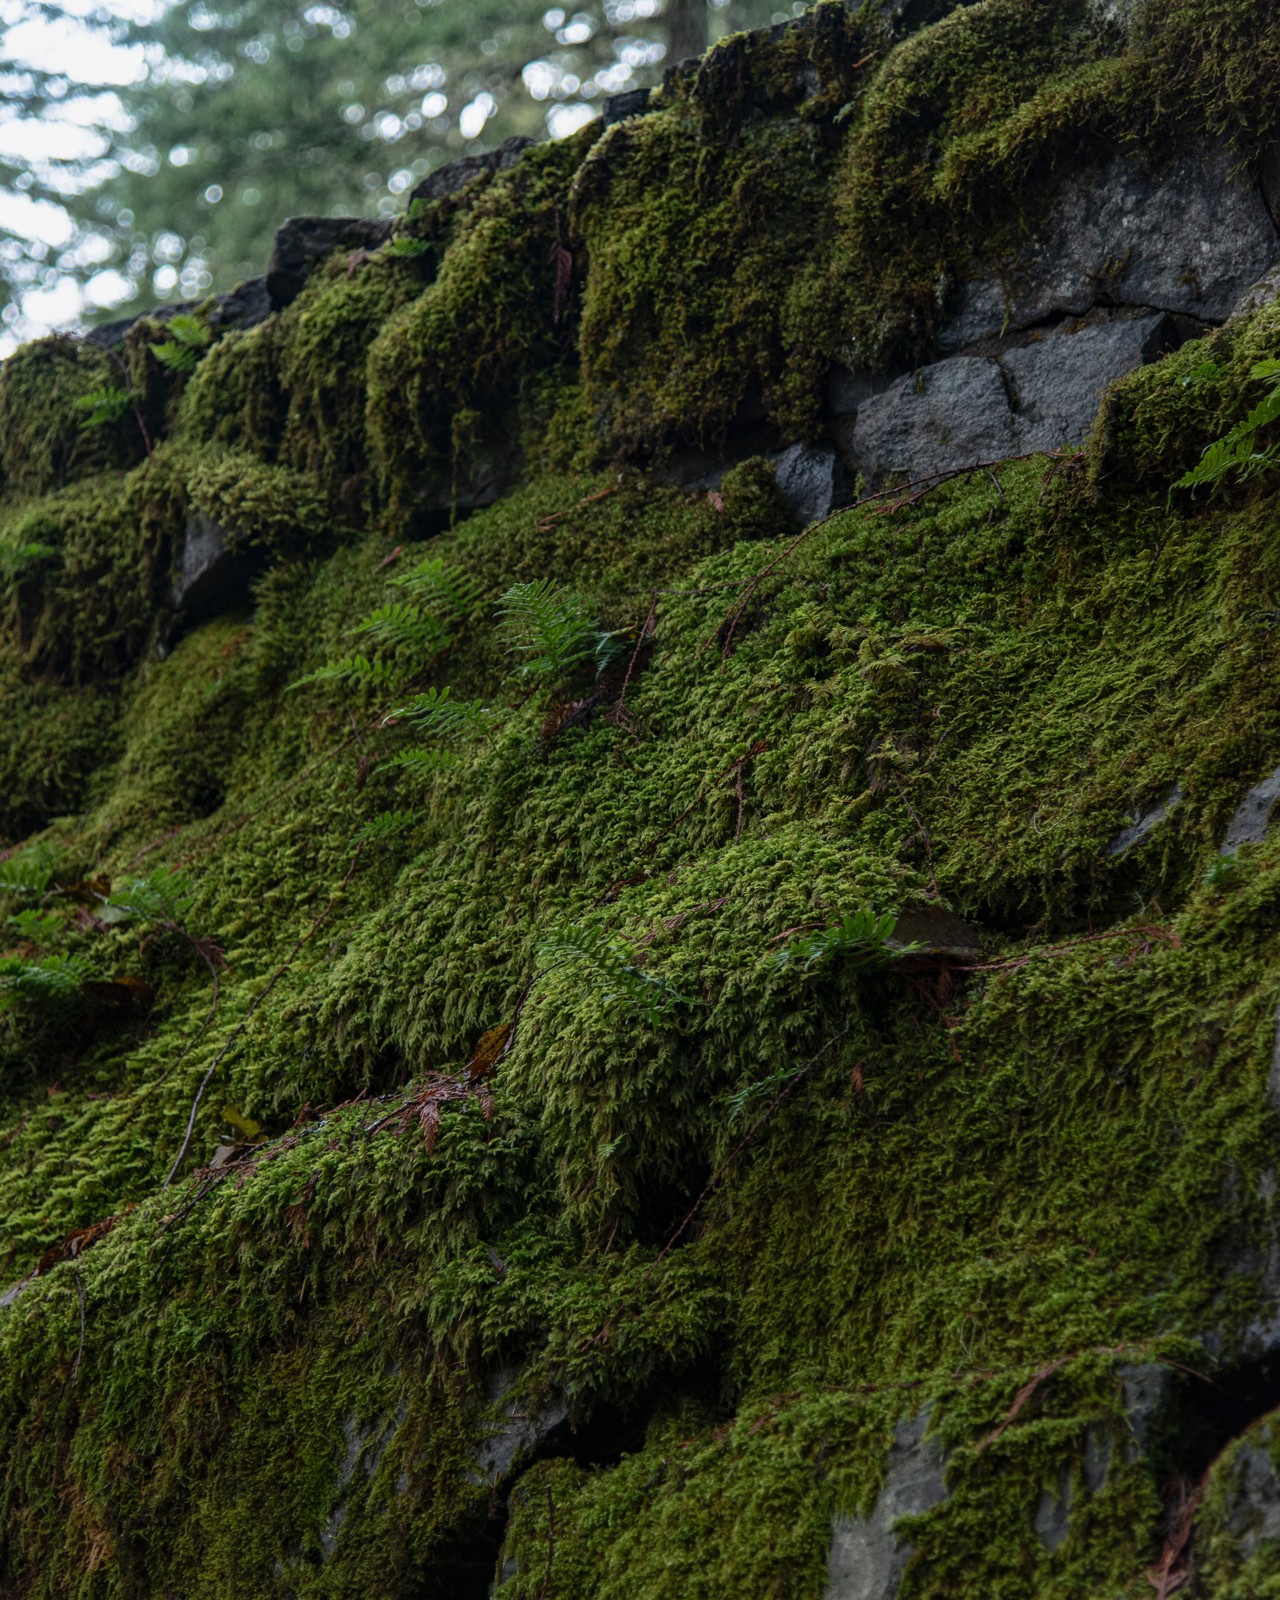
The moss-covered surface gives this frame a clear scale and texture. Instead of trying to describe the entire forest, begin with one relationship: soft moss against hard wood, or a bright surface against a darker recess. State that relationship before composing. Move the camera only from permitted, durable footing and inspect the edges for distracting bright gaps. If everything remains equally important, try a tighter crop or a longer focal length. Practice making three versions with progressively less context. Choose the smallest frame that still explains the subject, rather than assuming the tightest version is automatically strongest.
2. Use a trunk as a structural anchor
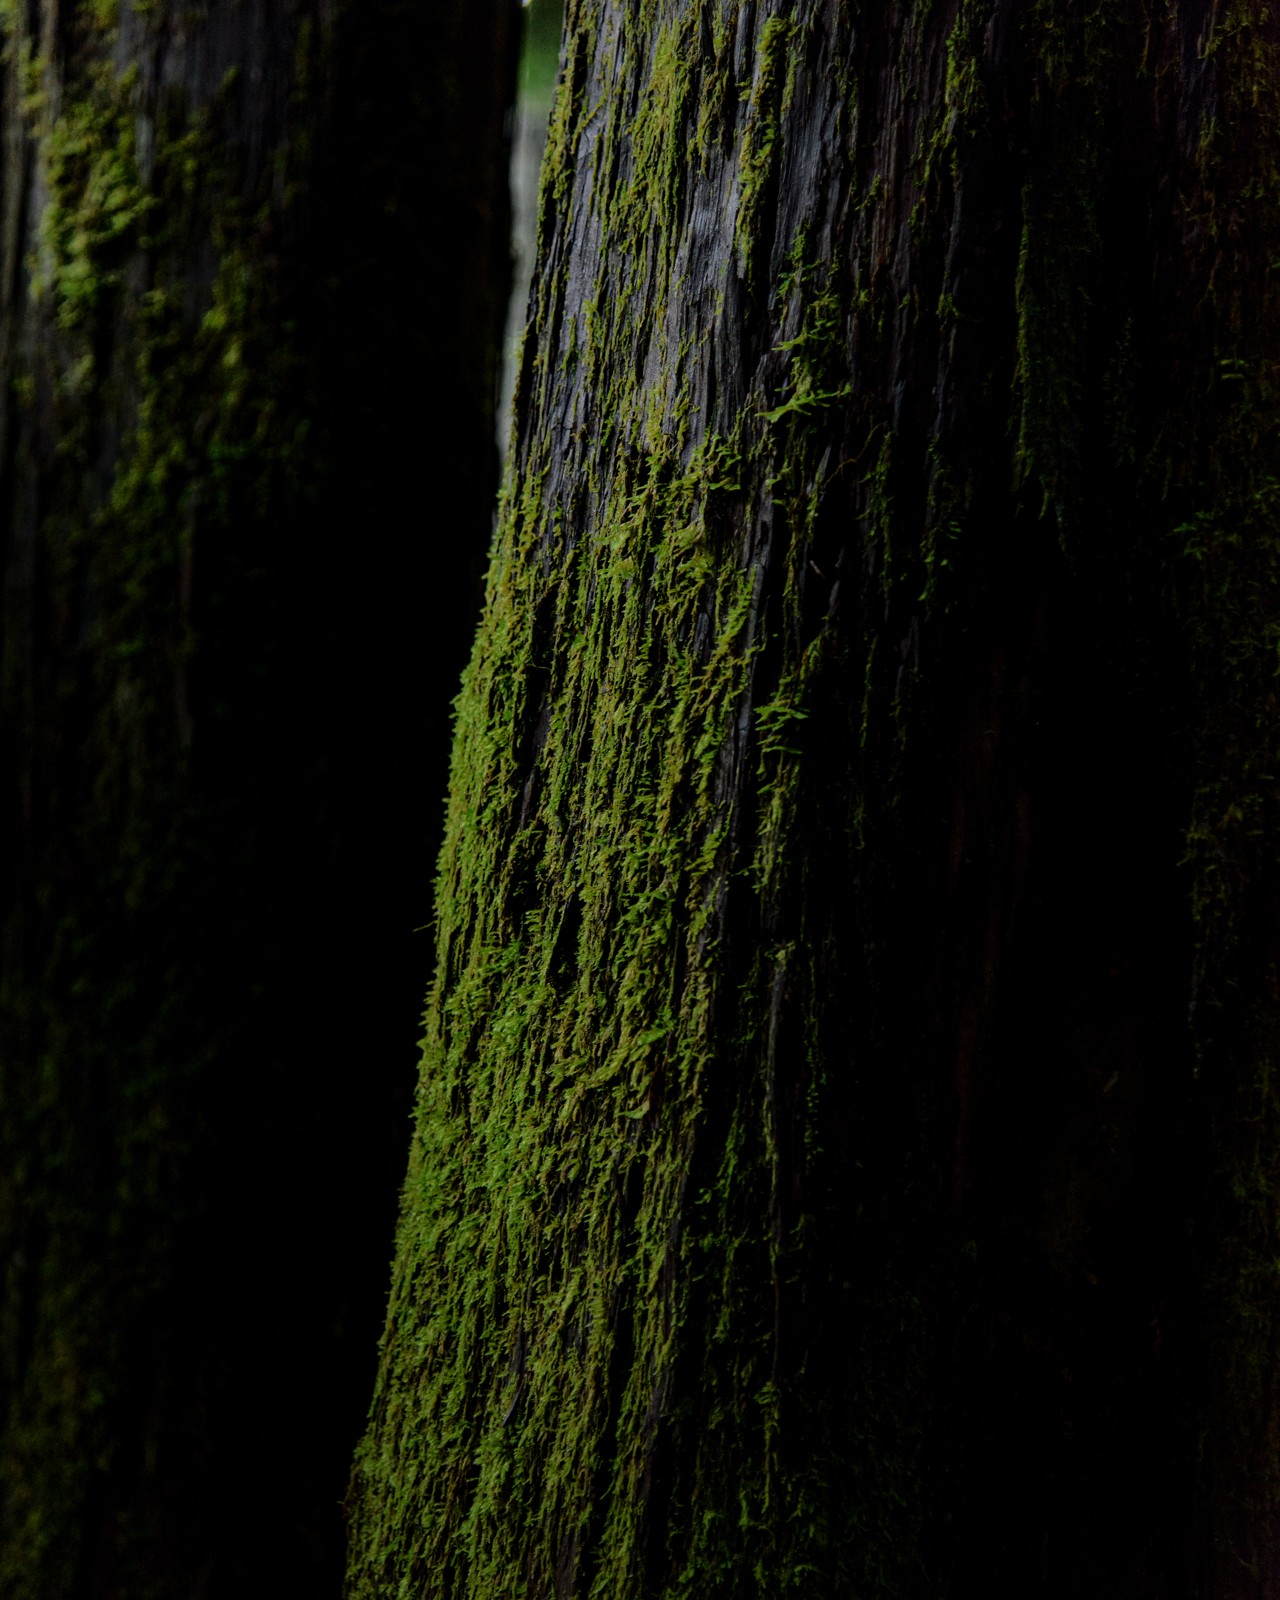
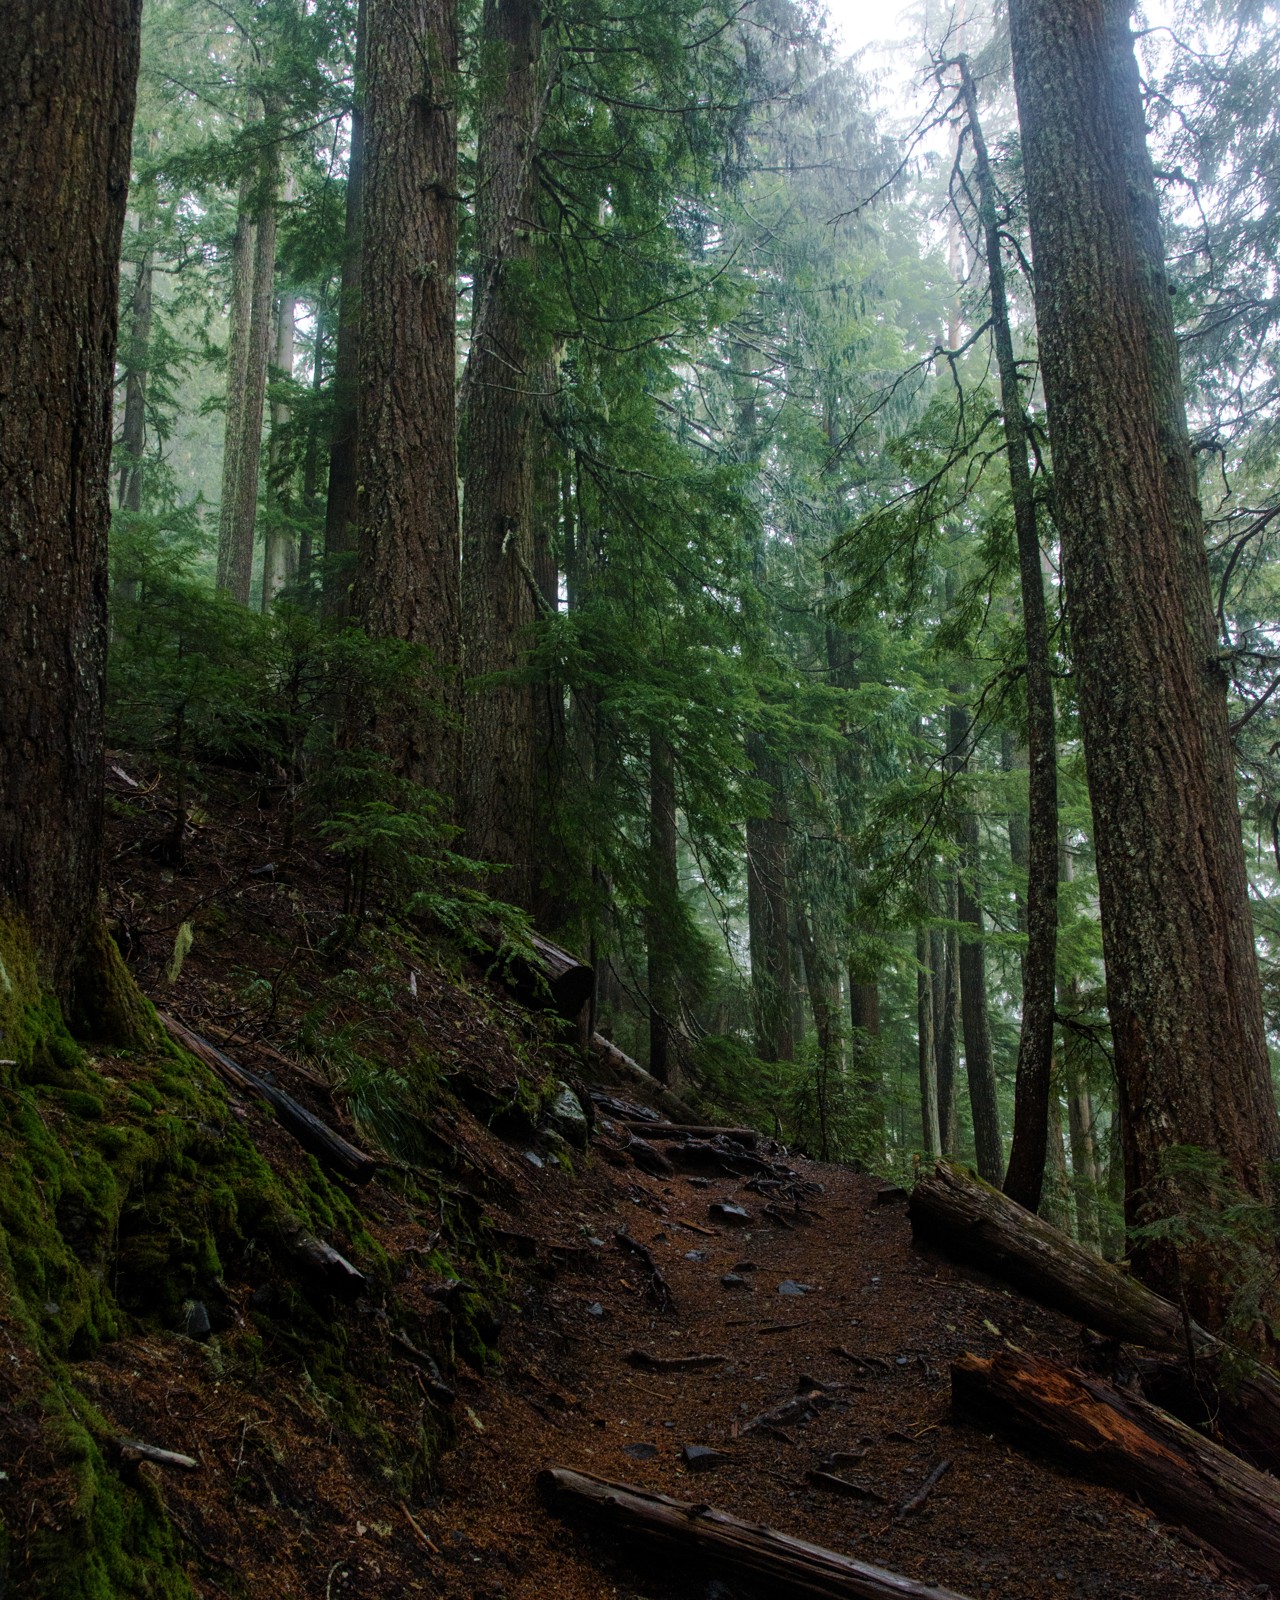
The large trunk occupies a strong position in the frame and gives the smaller textures a place to gather. An anchor is useful when the background contains many competing lines. Check whether it divides the image purposefully or simply blocks the view. Small changes in camera height can separate a branch from a bright gap and make the composition easier to read. For similar scenes, focus on the main surface and inspect both it and the background at full size. Maximum depth of field is not always the goal; the viewer should recognize which plane matters most.
3. Let mist simplify the background
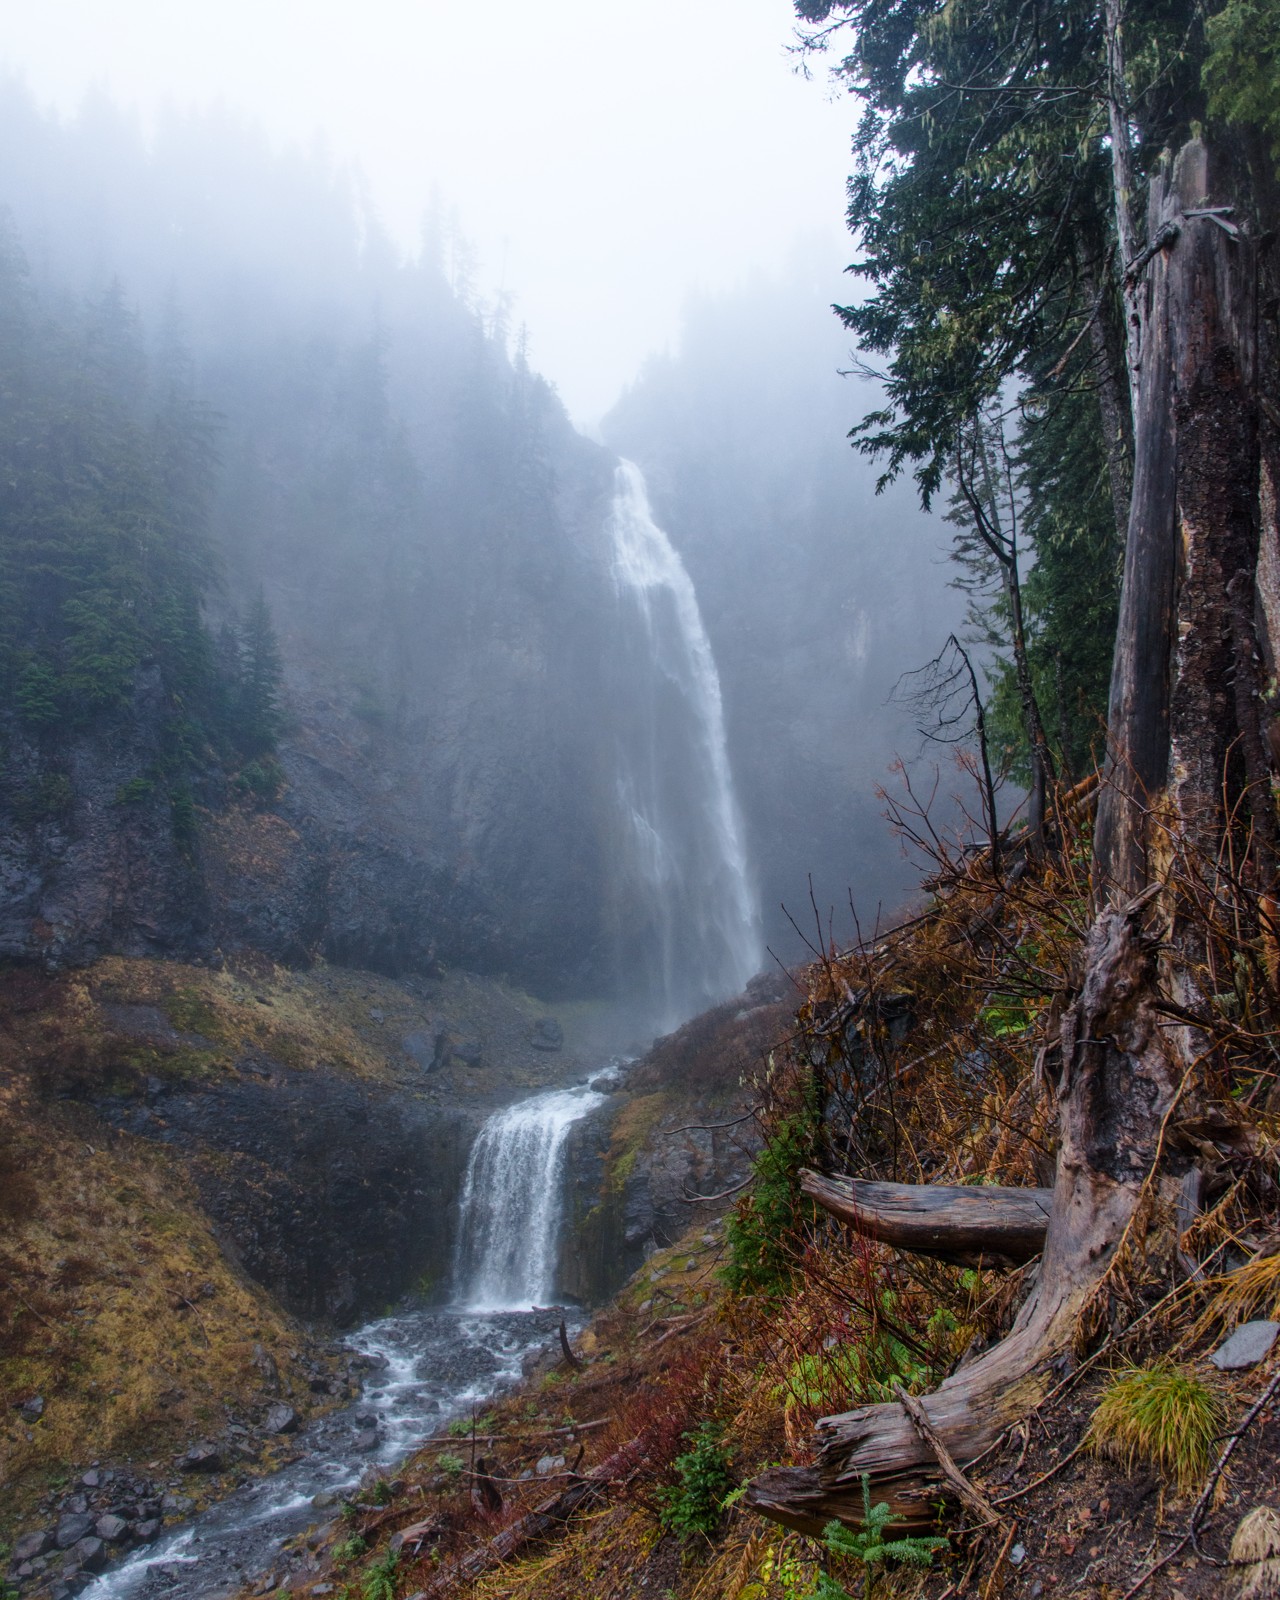
The distant waterfall and trees soften as they recede into mist, while nearer surfaces retain more contrast. That difference is a natural way to separate depth. Do not immediately remove it with a strong dehaze adjustment. First decide how much of the photograph’s appeal depends on the partially hidden background. In a similar scene, protect delicate bright areas in the mist while retaining enough information in nearby foliage. Make a restrained edit and a more contrasty one, then compare which feels more spatial. When every distant tree becomes as dark and crisp as the nearest one, the forest may lose its sense of distance.
4. Give moving water a clear route
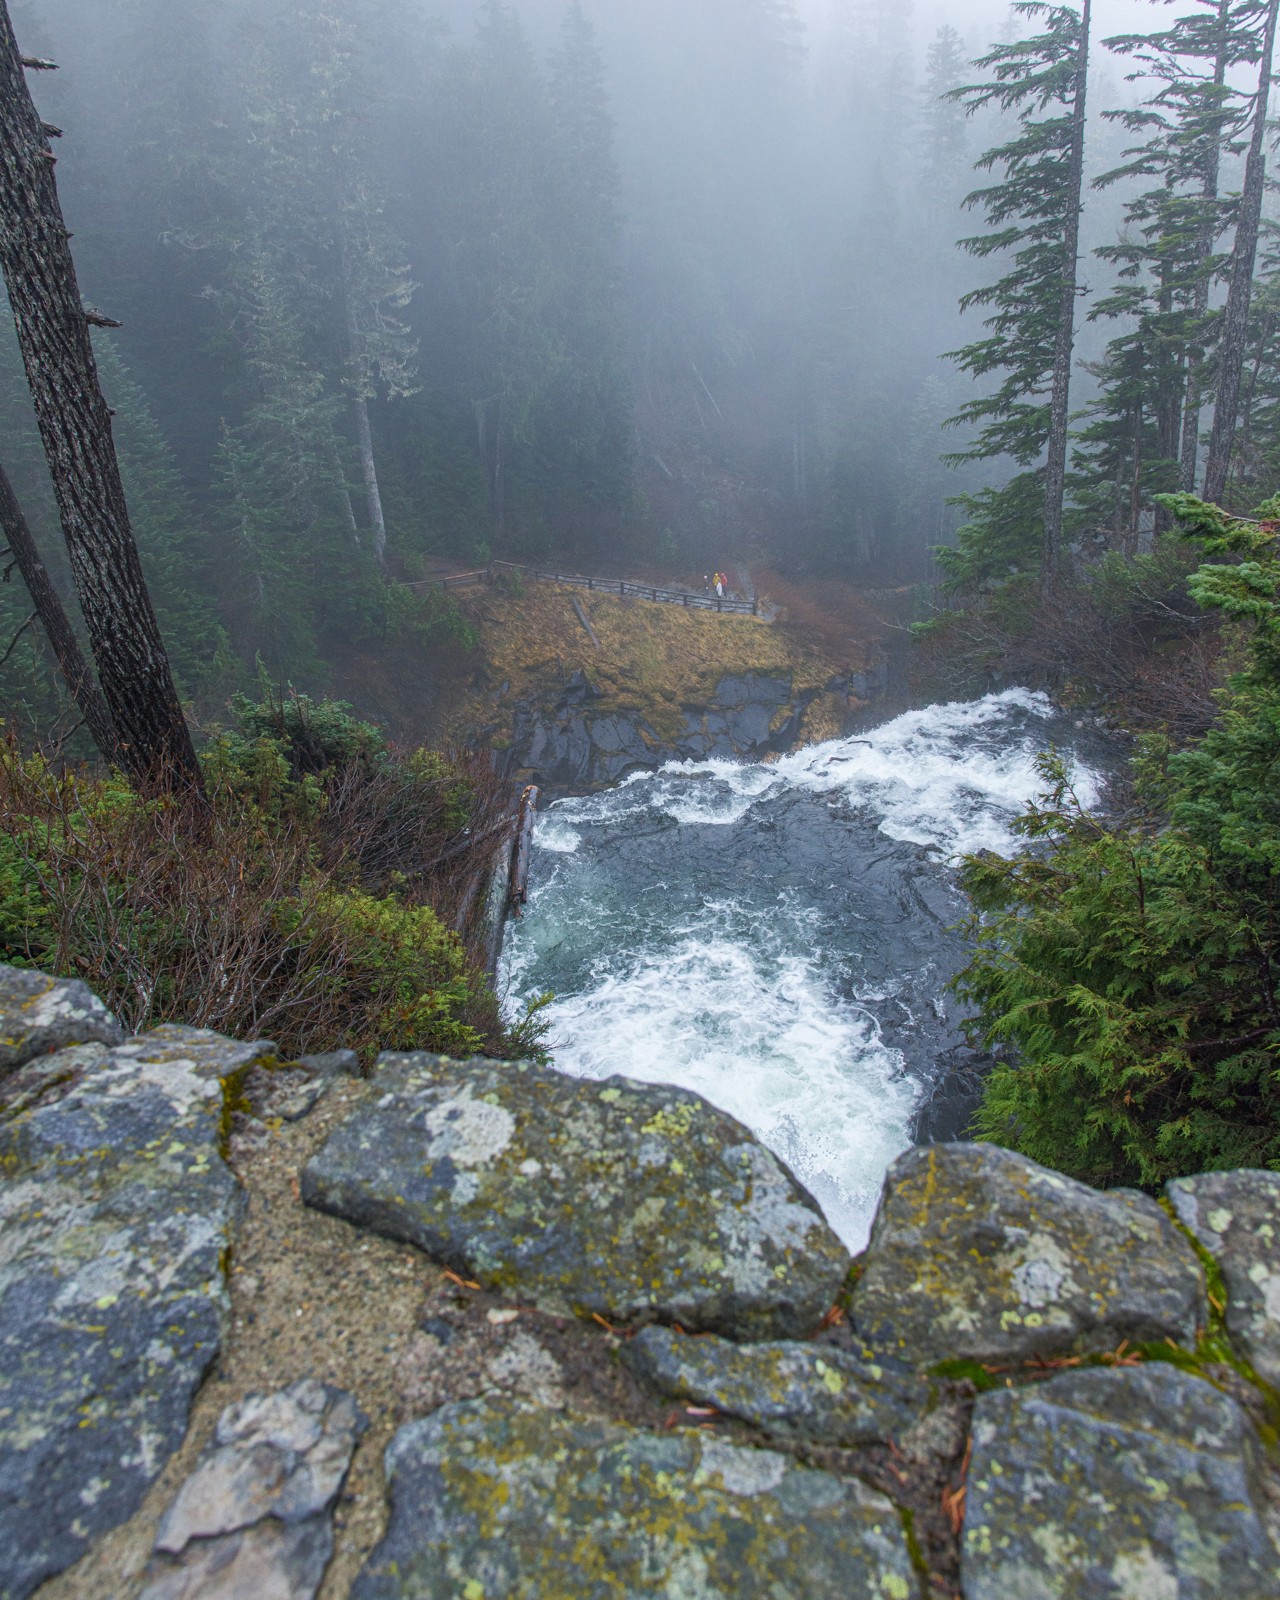
The bright water moves between rocks and trees rather than occupying the entire frame. Trace its path from entry to exit. If a distracting bright stone interrupts that route, adjust the framing before relying on retouching. Shutter speed is a storytelling choice: shorter exposures can emphasize turbulence, while longer ones combine movement into smoother shapes. Choose it after deciding what the composition needs. Support the camera when required and check nearby leaves for movement. A technically sharp trunk beside blurred foliage can work, but accidental blur in the main subject will weaken the image. Compare the water’s shape, not merely how smooth it looks.
5. Use paths without making every image a path picture
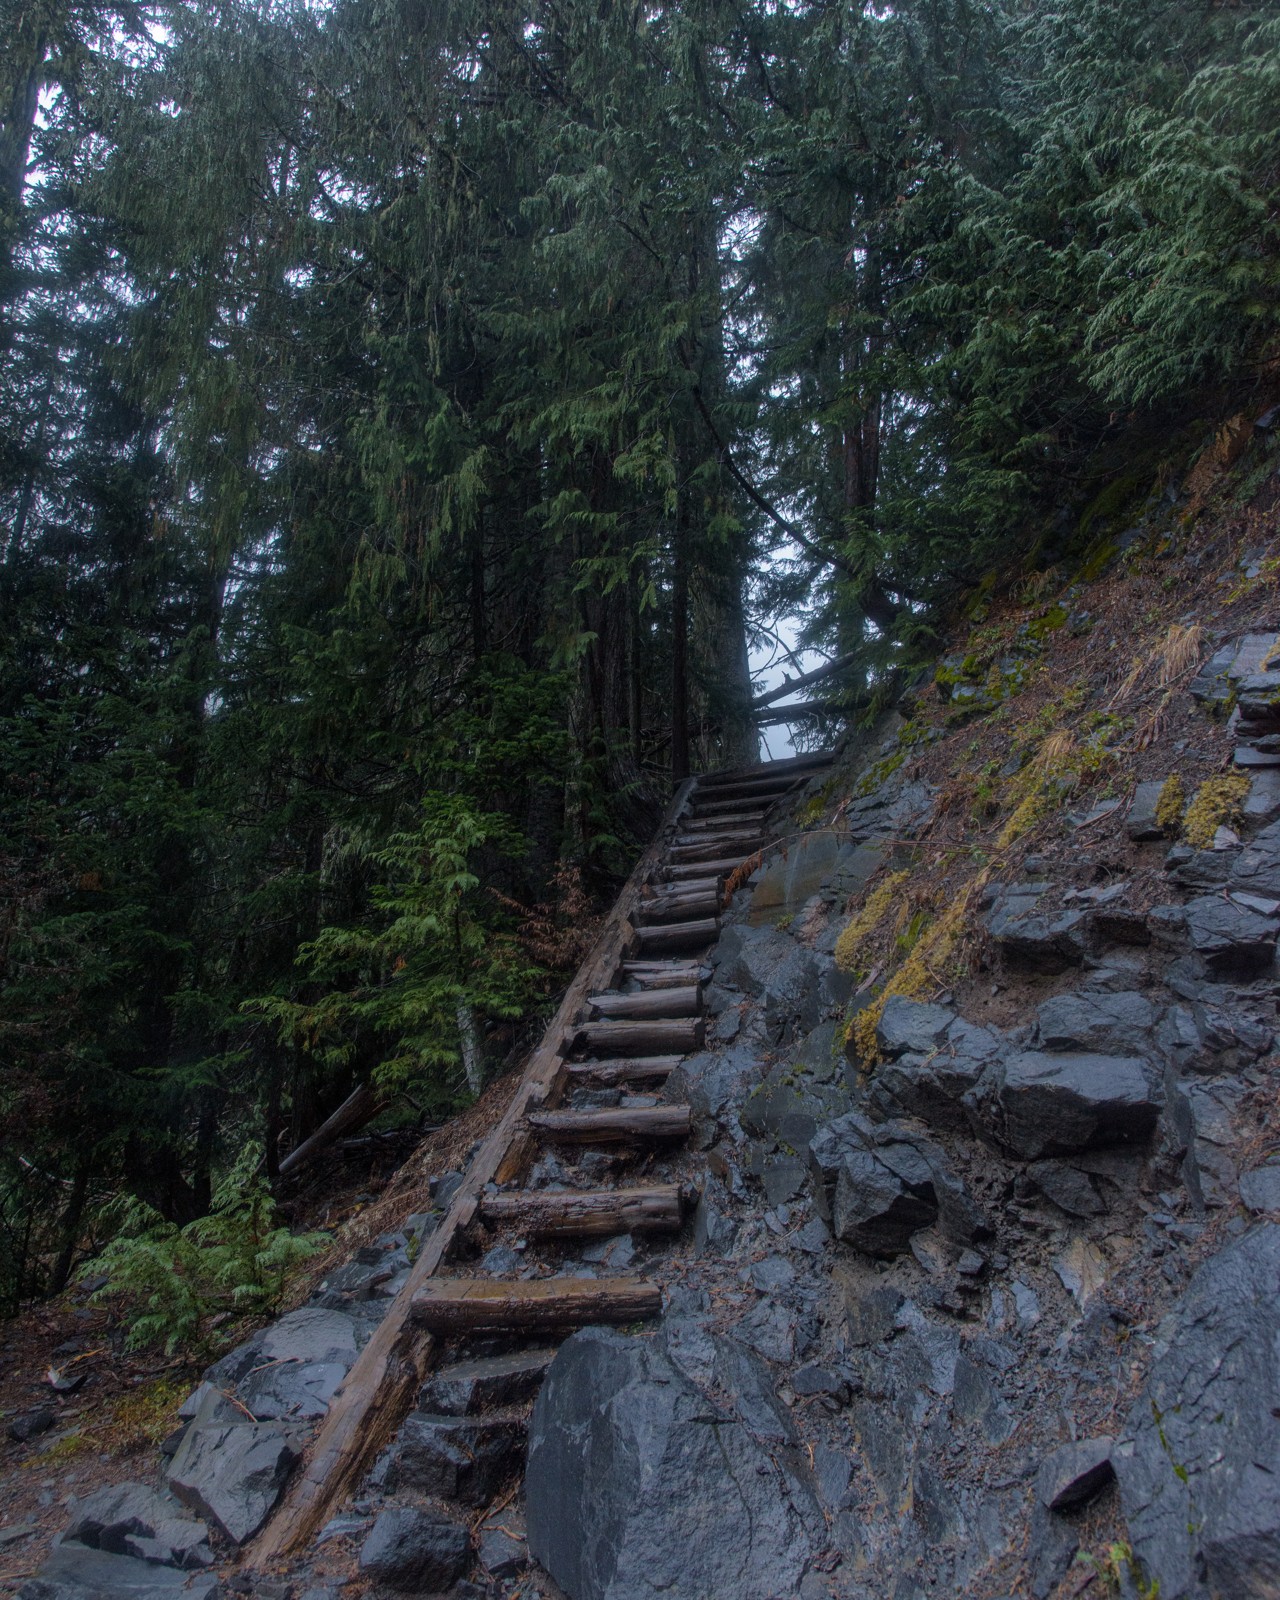
The steps lead upward between rocks and trees. They establish direction, but the surrounding forest still needs a role. Check where the path ends visually: an inviting turn can suggest continuation, while a bright obstruction may stop the eye too soon. Keep the near edge deliberate so the path does not appear accidentally clipped. Practice a version where the steps dominate and another where they occupy a smaller part of the scene. Stay on the trail while exploring those compositions. The lesson is not that every forest needs a leading line, but that an existing line should lead somewhere meaningful.
6. Separate repeating trunks
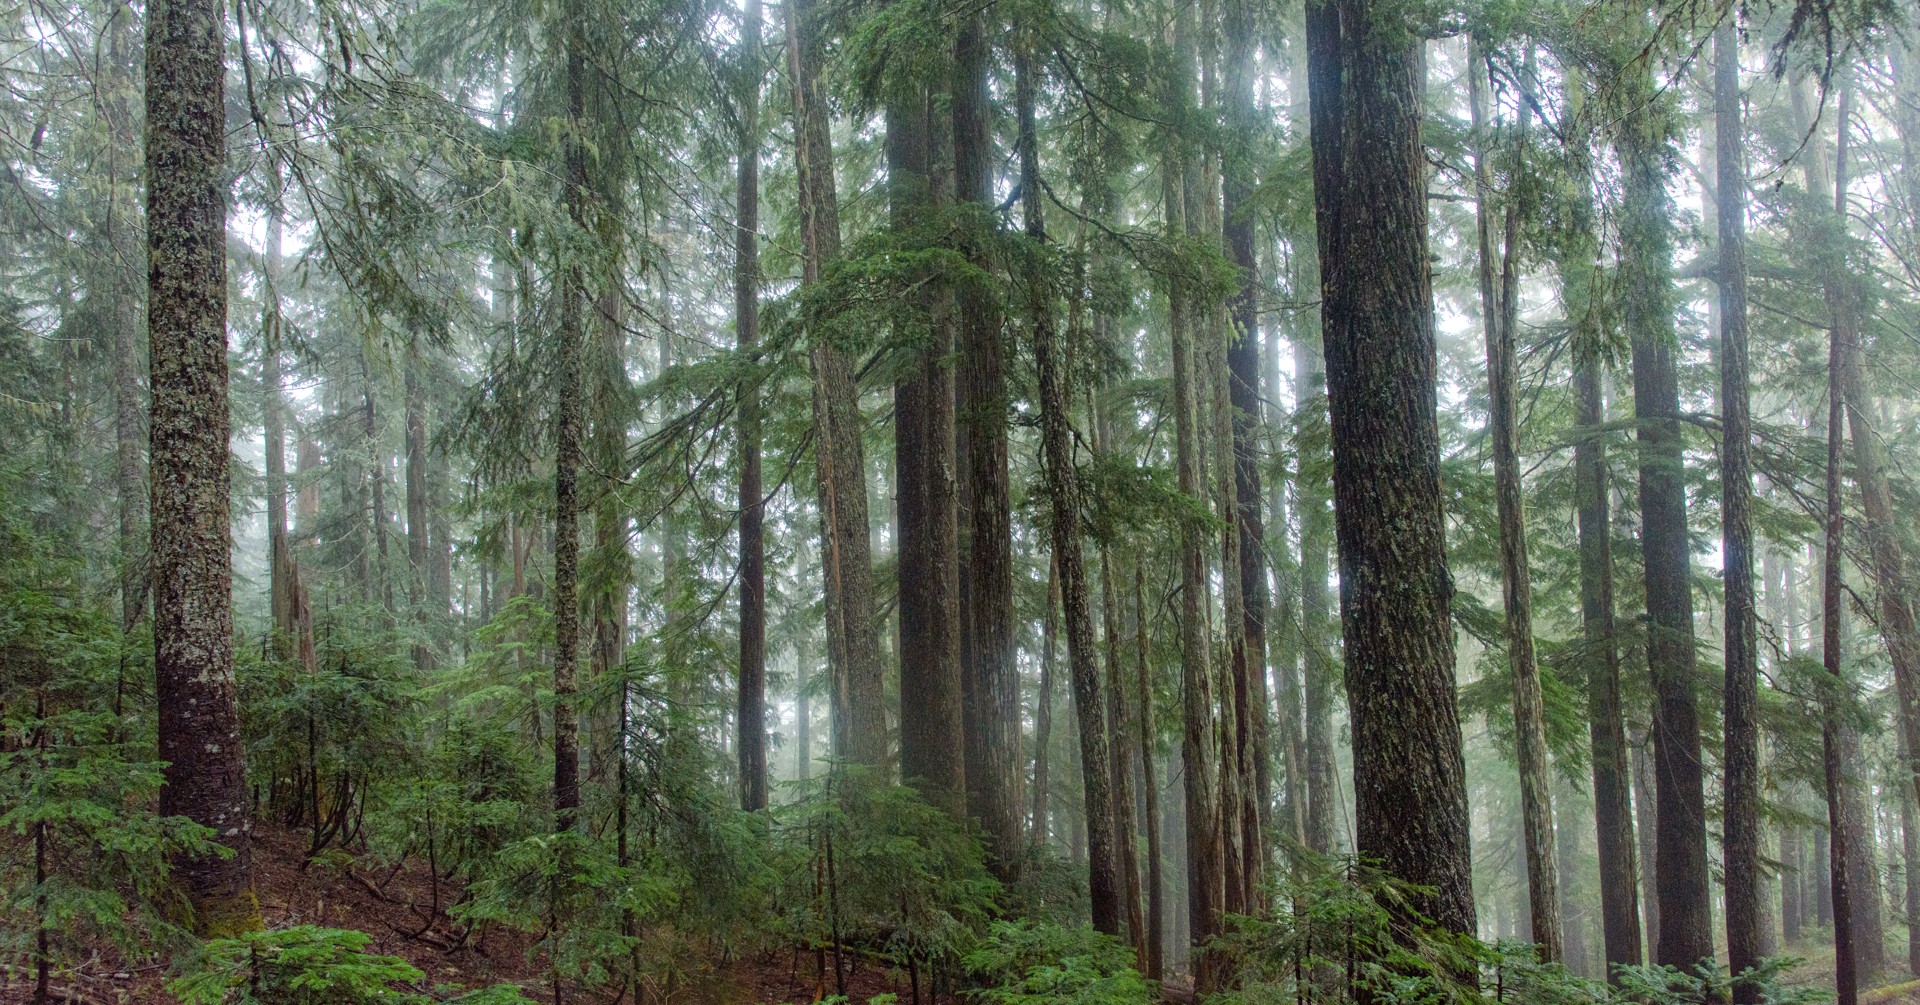
Vertical trees can create rhythm or visual congestion. Look for differences in spacing and brightness that establish a few principal trunks. A small sideways camera movement often changes overlaps more effectively than a different exposure. Examine the outermost edges for half-trunks that pull attention away and decide whether they belong as deliberate boundaries. In editing, avoid applying strong texture uniformly across the frame. Selective restraint in the background can preserve depth without blurring it artificially. Practice reducing the image to a small thumbnail: if the main arrangement disappears completely, the composition may still depend too much on fine detail.
7. Build depth from distinct layers
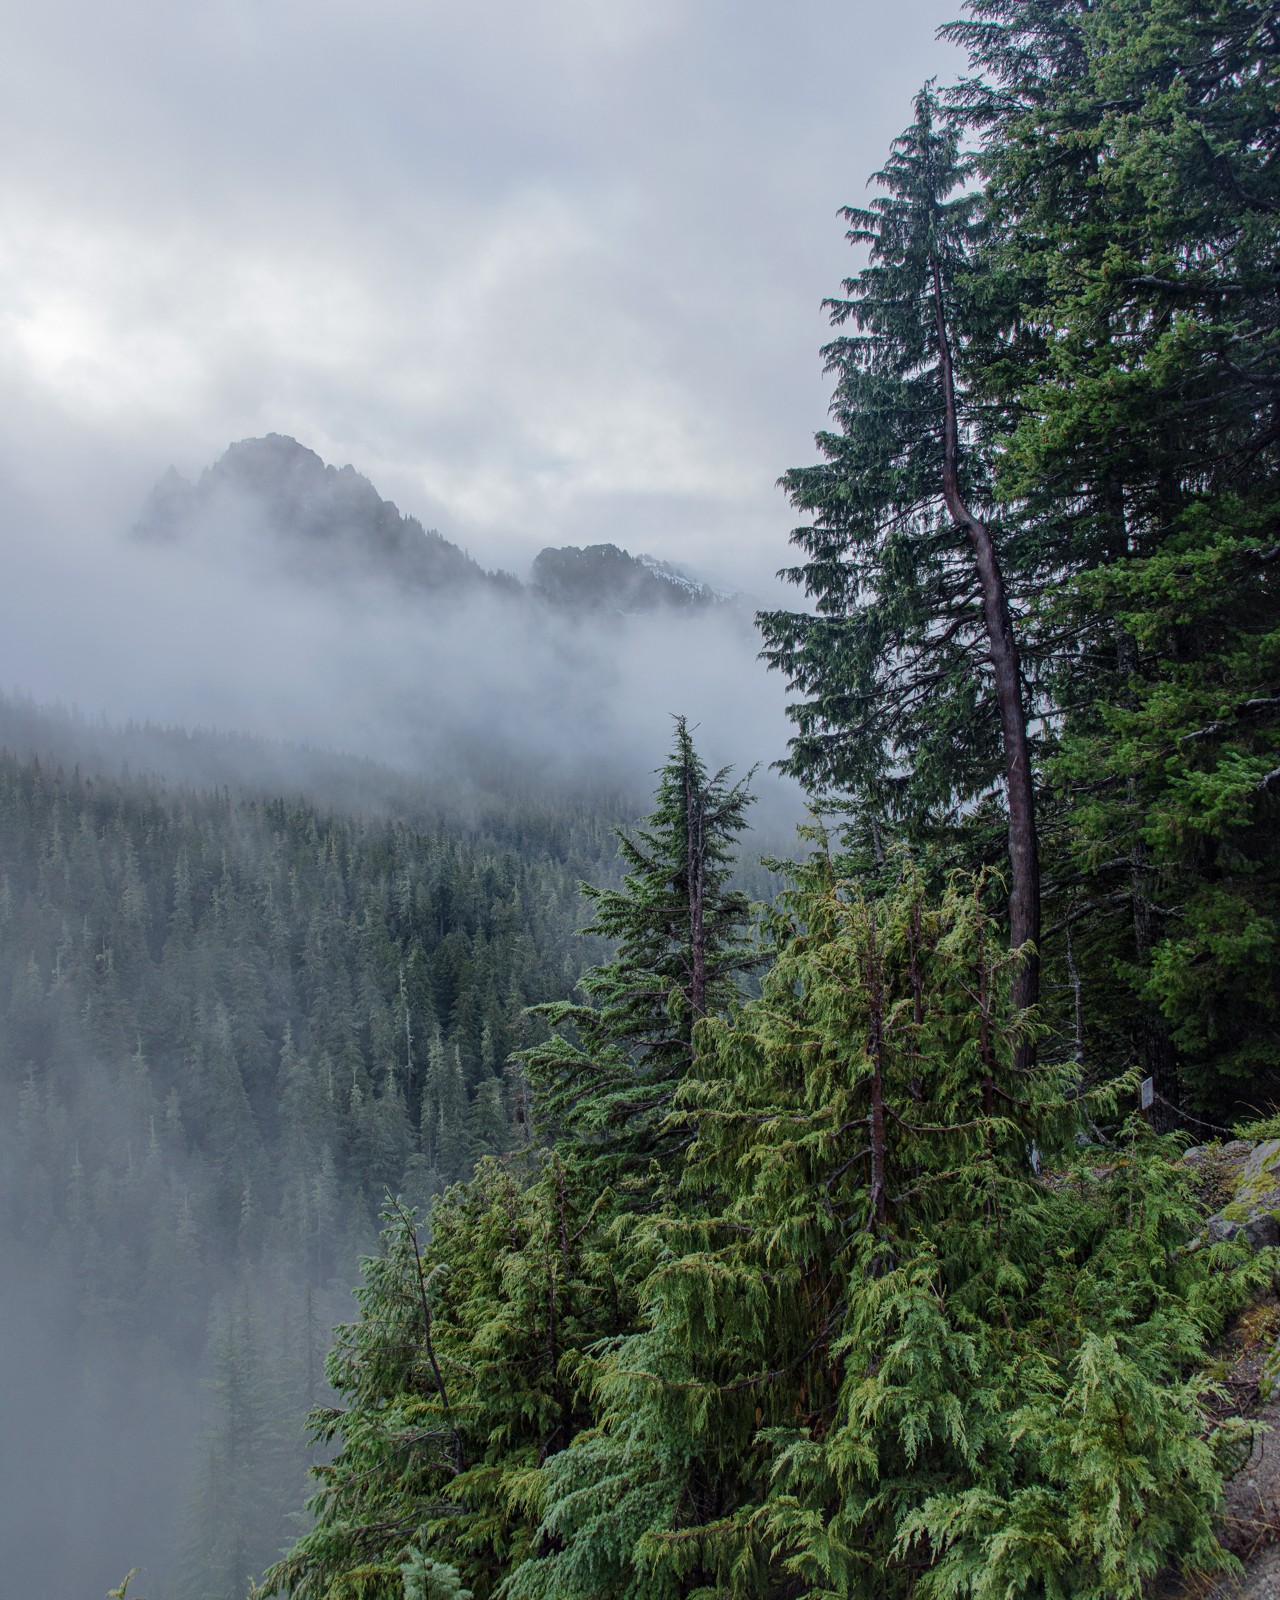
Near branches, a forested middle distance, and a misty mountain create three different visual layers. Their differences in contrast are part of the depth cue. Identify those layers before deciding on aperture or focal length. A foreground does not have to occupy half the frame to be useful; a small, well-placed element can establish proximity. Focus carefully and check whether important near and distant details are acceptably rendered for the intended output. Avoid automatically sharpening the misty background until it competes with nearby trees. Keep each layer’s role distinct while preserving the quiet atmosphere that connects them.
8. Edit green as a family of colors
The trunks and forest floor sit among multiple greens, from brighter foliage to darker, cooler recesses. Increasing green saturation globally can flatten those differences and make the scene appear fluorescent. Start with overall exposure and white balance, then evaluate individual color ranges gently. Check the trunks as a reference: if they acquire an implausible green cast, revisit the balance rather than adding more saturation. Compare the edit with the original at equal brightness. For the final review, look for clipped bright leaves, halos along trunks, and over-sharpened moss. Detail should support the composition, not compete with every other detail.
Practice and review
Practice assignment: make eight frames during one forest walk—texture, trunk, mist, water, path, repeating trees, layered distance, and color. Choose three that communicate different ideas rather than eight near-duplicates. For each keeper, identify the subject in one sentence and remove only distractions that weaken that sentence. Respect trail boundaries and leave vegetation untouched.