Exposure in difficult light: choose what to protect
Eight photographs show how to balance bright skies, white water, snow and deep shade without losing the mood of a scene.
 View this photograph & print options →
Begin with the part of the scene that matters most, then decide how the brighter and darker areas will support it. These finished photographs illustrate visual choices; they do not establish the original camera settings or recoverable raw-file detail.
1. Decide which brightness matters
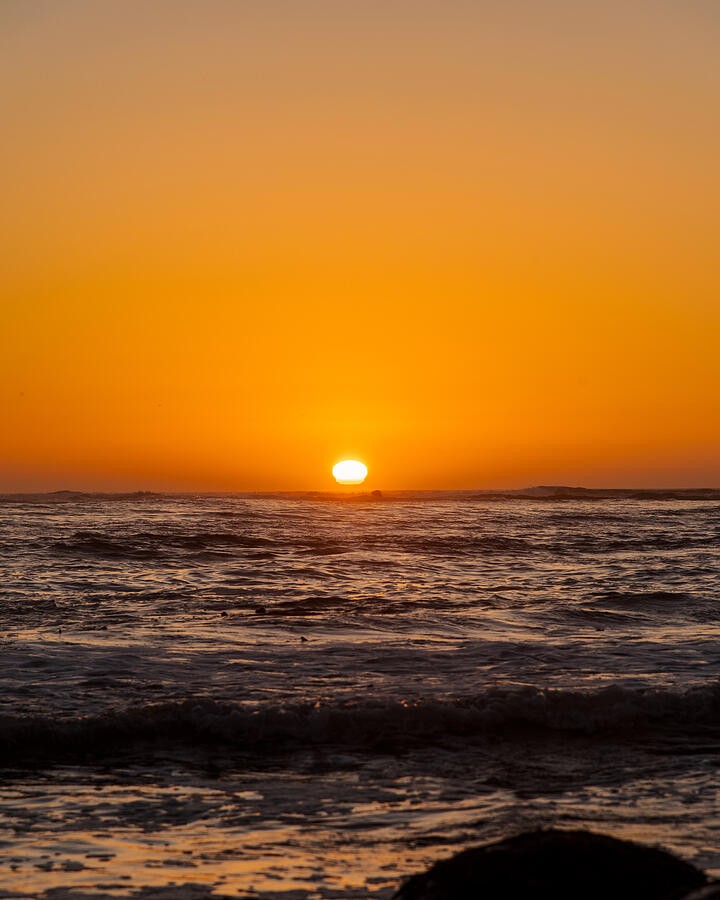
In the opening seascape, the sun is much brighter than the bands of water below it. Start by deciding what must remain readable: the orange sky, the shape of a wave, or the dark edge of the horizon. A small featureless sun can be a deliberate part of a photograph; a broad area of washed-out sky may weaken it. At the camera, review the important bright areas rather than trying to make every part equally bright. The goal is a clear picture, not a perfectly centered brightness graph.
2. Treat a bright opening as its own subject
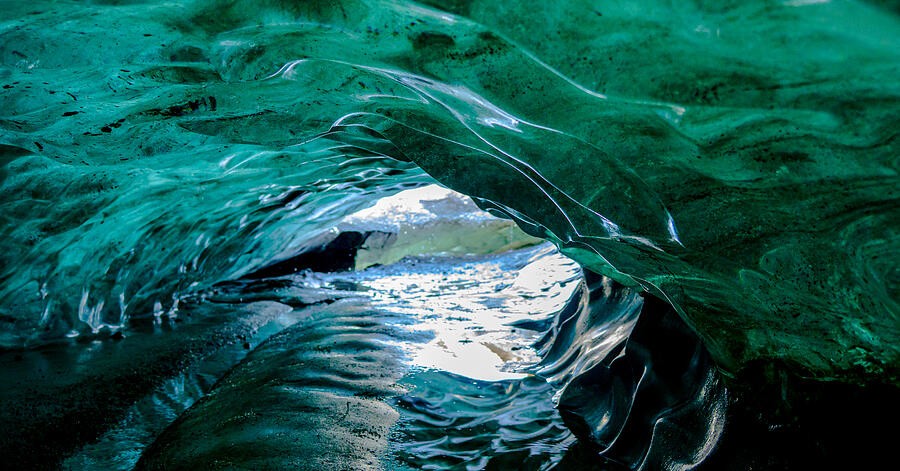
The ice arch surrounds a bright opening with darker blue-green surfaces. Compare the opening with the nearest curves: both contribute to the scene, but they do different jobs. In a similar situation, meter and review a test frame before choosing your final exposure. Protect important bright texture, then judge whether the darker ice still carries the shape you want. If the range cannot fit comfortably in one frame, consider a different composition or light. Simply lifting every shadow later may flatten the sense of enclosure.
3. Separate white water from empty white
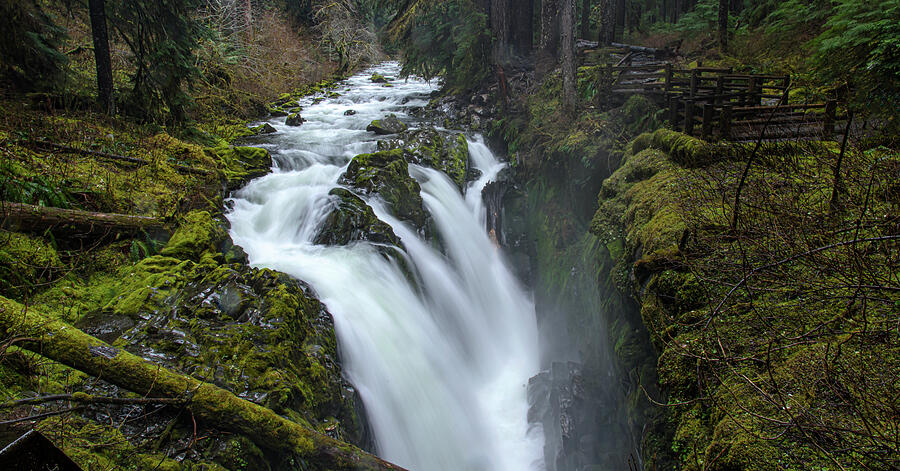
The waterfall is the brightest large shape in this forest. Look for changes within that shape: softer flow, small streaks and darker seams give it structure. When photographing similar water, inspect highlight warnings and magnify the important areas. Then choose shutter speed for the motion you want while balancing the other exposure settings. A histogram alone cannot tell you whether the water looks expressive. The field check is both technical and visual: is useful detail retained, and does the chosen motion suit the photograph?
4. Let snow look bright
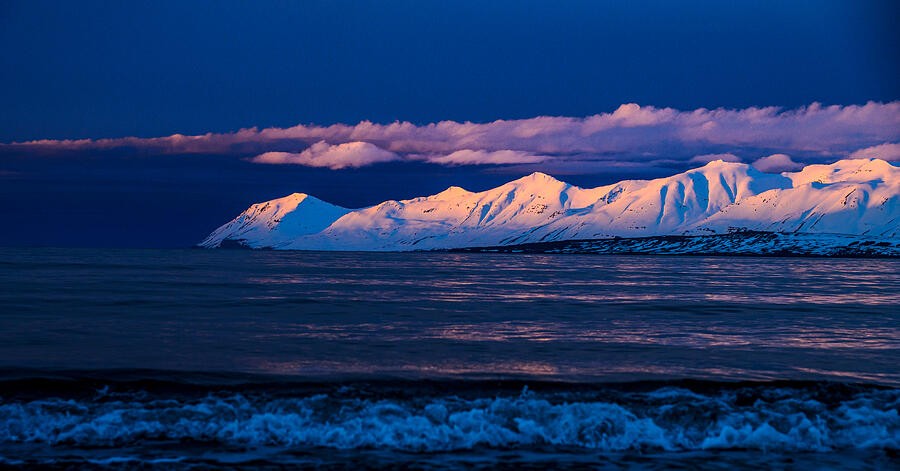
The lit snow along the distant coast is a different problem from the dark water in front of it. If you judge only the average brightness, you may push the whole scene toward an unconvincing gray. Look at the brightest meaningful snow and the transitions around it. Keep the light feeling luminous while preserving the texture that matters. A scene dominated by pale surfaces can naturally put much of its histogram toward the bright end. That distribution is a description of the scene, not an instruction to darken it automatically.
5. Watch the strongest color channel
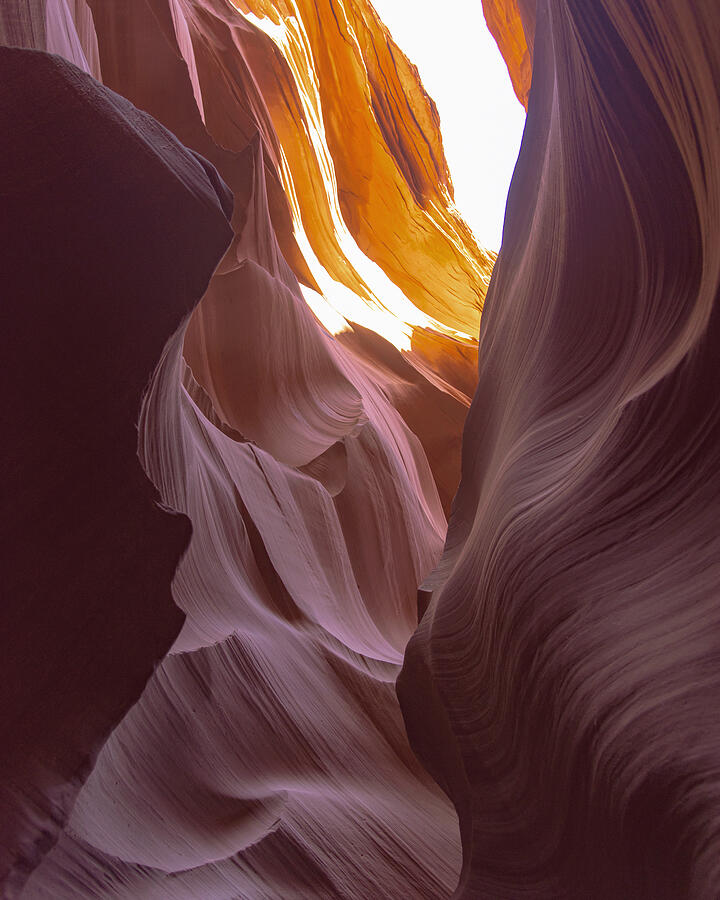
Warm reflected light moves through the canyon while the narrow opening above it is much brighter. Strong orange or red surfaces deserve attention beyond an overall brightness reading. If your camera or editor offers separate RGB histograms, compare the channels and inspect areas where subtle color becomes a flat patch. Before making a stronger edit, identify whether you are improving separation between the curves or losing it. A restrained highlight and color treatment can preserve the feeling of light traveling through stone without making every wall equally intense.
6. Read the image and the graph together
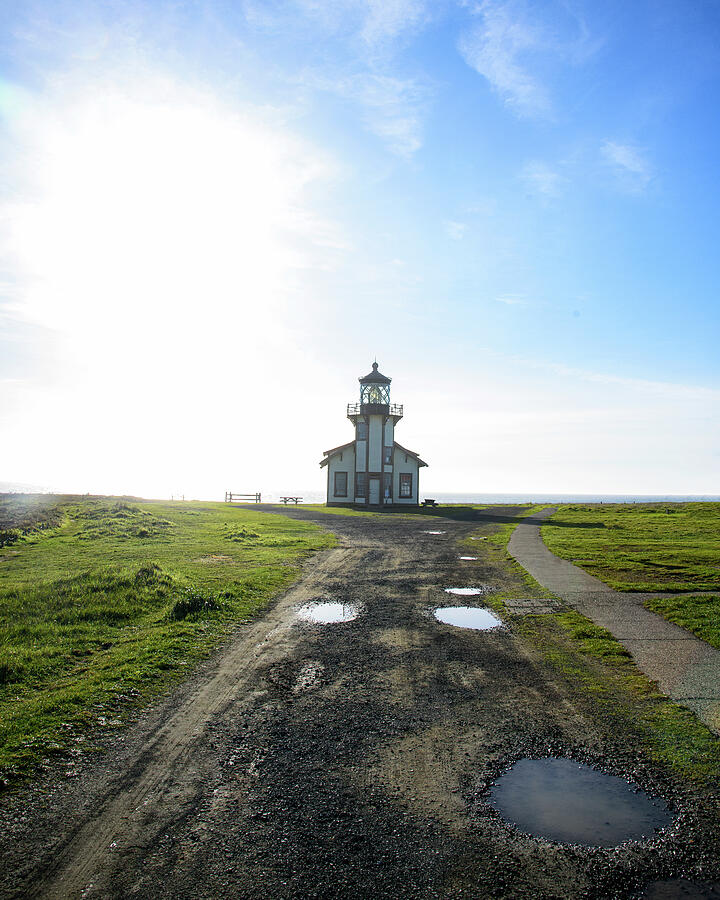
The lighthouse is small beneath a bright sky, with a darker path leading toward it. Ask what a brightness graph would not tell you: which pale patch is sky, which dark patch is foreground, and where the viewer should look first. In the field, use the histogram to check the range, then return to the picture to assess the subject. Camera histograms often describe a processed preview, so they are a guide rather than a complete inventory of recoverable raw data. A finished website image cannot establish the original capture settings.
7. Keep the mood in the shadows
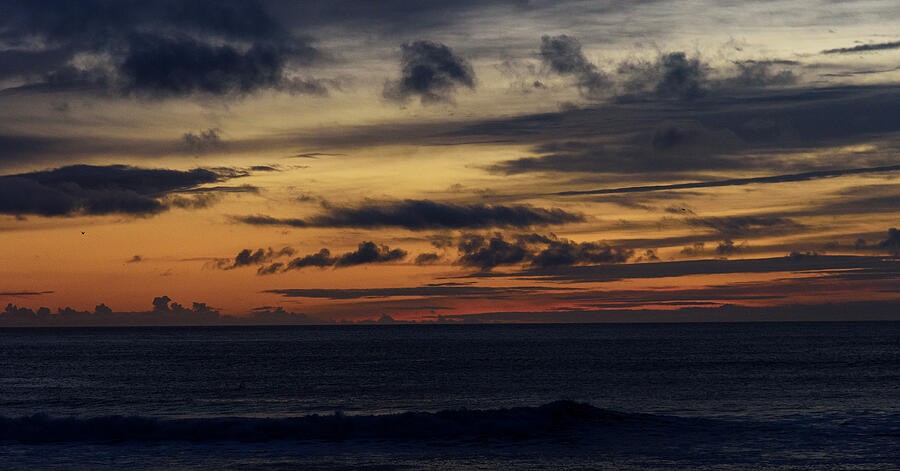
The coastal clouds and low glow carry this evening scene. The dark water and foreground do not need to reveal every possible detail to be useful. Try a modest shadow adjustment and compare the result at a small viewing size. Does the coastline become more readable, or does it begin competing with the sky? Look for noise and weak color when opening very dark areas. If the scene works better with a dark foreground, leave it dark. Recovering information is an option, not a requirement to use all of it.
8. Make a field decision before an editing decision
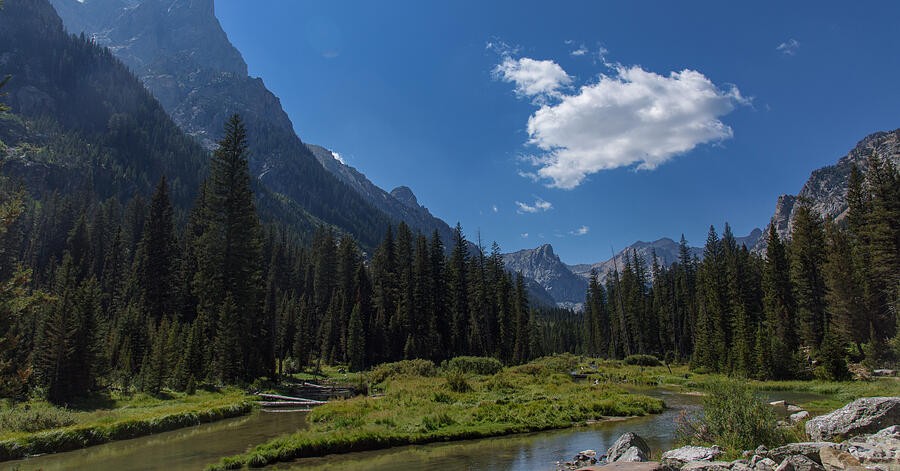
The meadow, trees, mountain slopes and sky occupy different brightness ranges. Before photographing a scene like this, identify what can move and what needs to remain sharp. That helps you decide how much freedom you have with shutter speed and aperture. In a still scene, exposure bracketing may provide useful alternatives, but moving branches or changing light can complicate a blend. Review one frame on its own before assuming several are necessary. A small change in camera position or waiting for a cloud can sometimes solve more than an elaborate edit.
Practice, compare, explain
Choose one scene with both bright and dark areas. From the same safe position, make a small set of exposures while keeping your intended motion and depth of field consistent. Record which detail you wanted to protect. Compare the files in your editor with clipping warnings on, then at normal viewing size with the warnings off. Select a frame because its important tones and subject work together—not because its histogram has a particular shape. Preserve the raw files and keep your editing alternatives.