

Choose the strongest frame: build a deliberate shortlist
Use seven examples to separate a meaningful photograph from a near miss, an alternate, or a useful supporting view.
 View this photograph & print options →
Use seven examples to separate a meaningful photograph from a near miss, an alternate, or a useful supporting view. These examples use finished photographs to study visual decisions; they do not identify the original exposure settings or prescribe identical edits for every image.
1. Decide what the picture is about
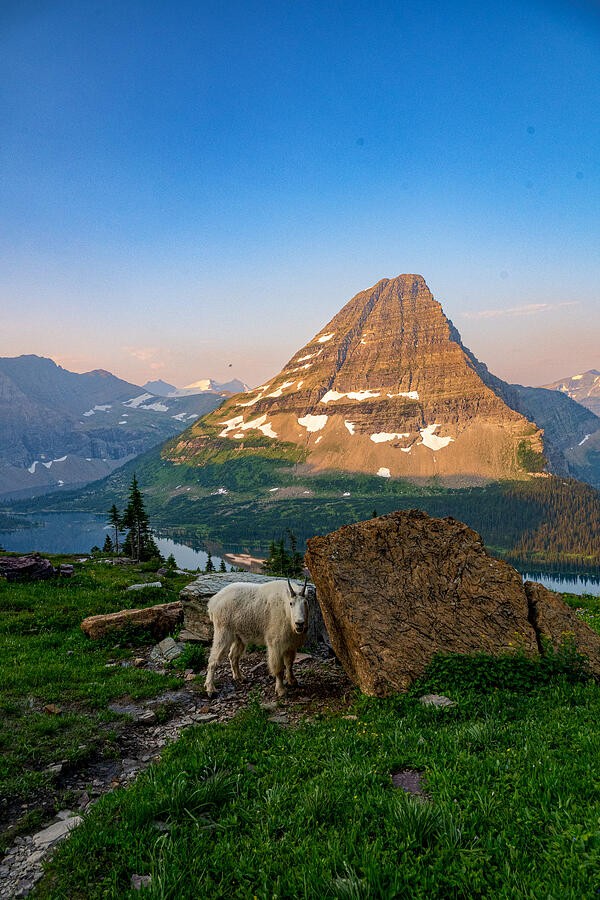
The goat beneath the mountain works as an environmental photograph: the animal and the wider landscape both matter. Set that intention before judging sharpness or deciding on a crop. A close portrait would solve a different problem. In a shortlist, write a short purpose beside each frame—place, behavior, portrait, or atmosphere—so you do not reject a successful wide image merely because another frame shows a larger animal.
2. Compare roles, not only subjects
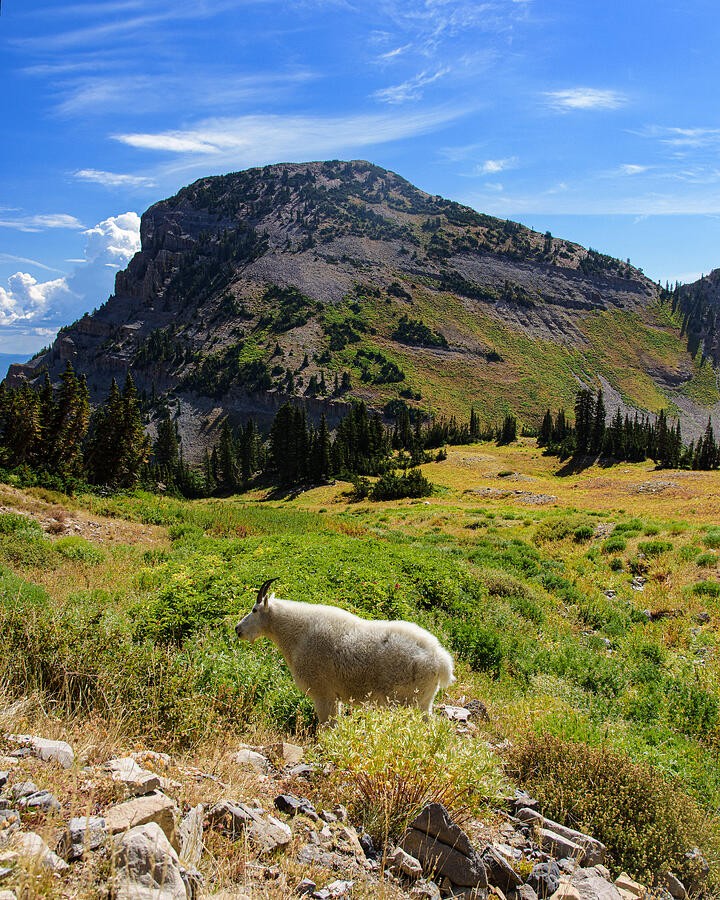
The goat in the meadow gives the animal more room relative to the landscape. Compare it with the opening frame: which would introduce a trip, and which would follow a wildlife encounter? Both can earn a place if their roles differ. If you need only one image, select according to the story you are telling. Similar subject matter does not automatically make photographs redundant.
3. Look for a readable pose
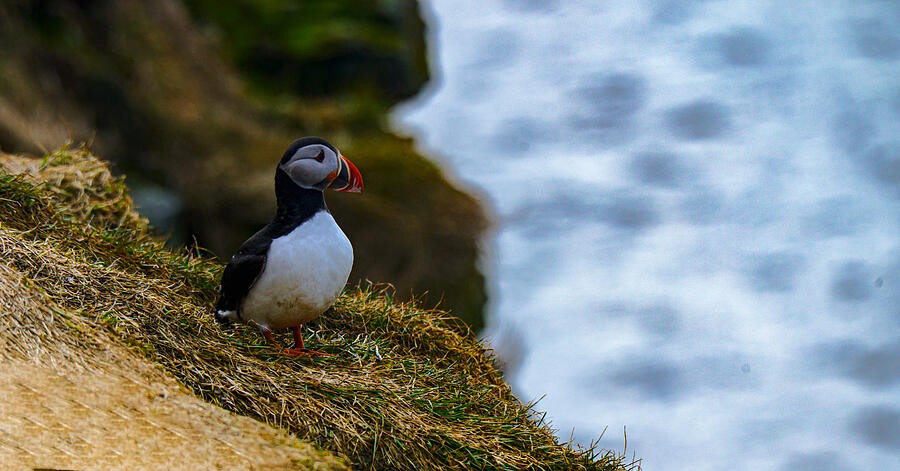
In the puffin photograph, inspect the profile, eye, and separation from the background. At a small size, can you understand the bird’s shape immediately? At full size, check the eye and feather detail before judging the entire image by apparent crispness. A pose that reads clearly can matter more than a slightly cleaner background, especially when the photograph needs to work as a small gallery card.
4. Compare the near neighbor
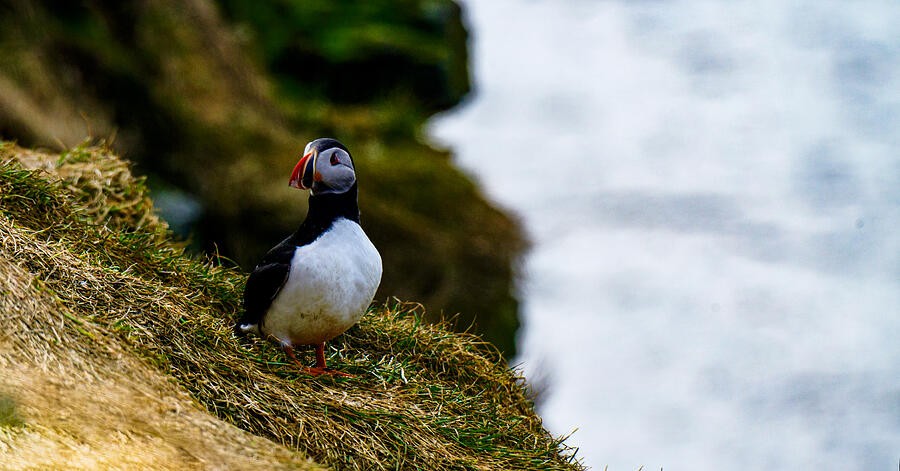
The second puffin photograph is a useful comparison rather than an automatic duplicate. Keep the images at the same display size and alternate between them. Notice head angle, empty space, and the line of the ledge. Choose one if they make the same statement; keep both only if the difference matters to your sequence. Do not infer that these frames were captured seconds apart from their visual similarity.
5. Keep meaningful behavior
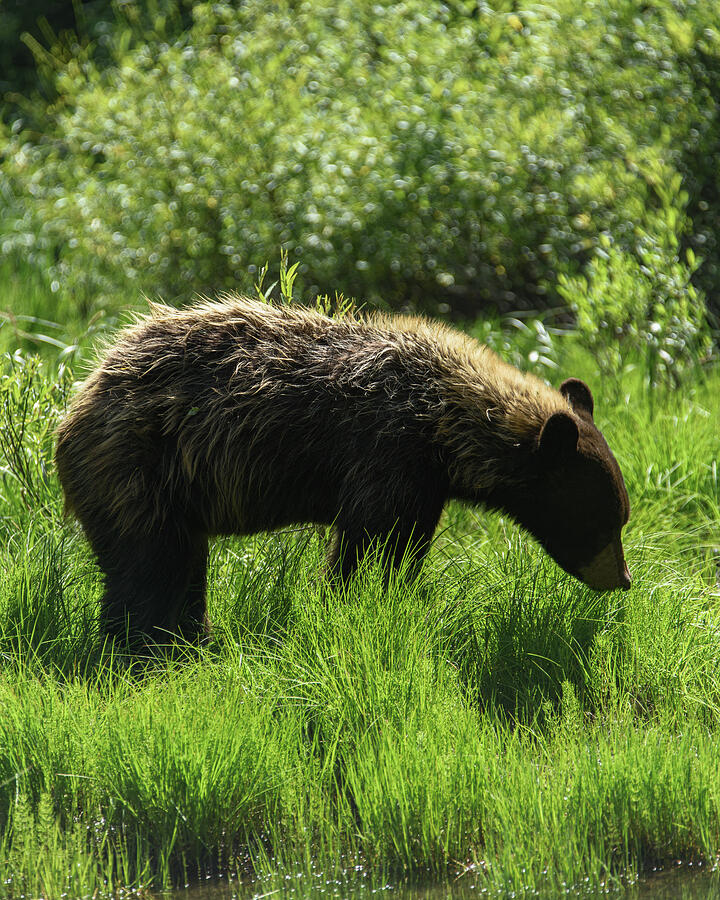
The grazing bear communicates an action. Decide whether that behavior is the reason to keep the picture before trying to turn it into a conventional portrait. Check whether the head and body remain readable against the grass. Sometimes a small gesture is the story; sometimes it is obscured enough that another frame would communicate it better. Selection should reward what viewers can actually see.
6. Be honest about visual competition
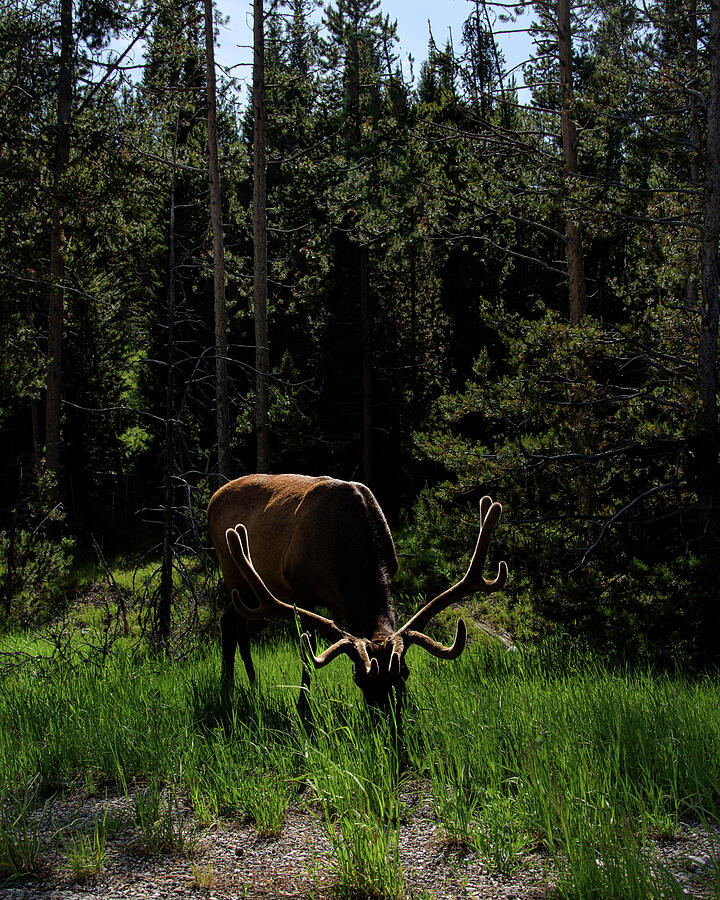
The elk shares the frame with a dark forest and bright vegetation. Look for the animal without zooming first. If it takes time to find, decide whether that discovery is enjoyable or frustrating for the intended use. Cropping or modest local adjustments may help, but a shortlist is not a promise to rescue every image. Keep a frame because its strengths justify the work.
7. Leave room for a supporting image
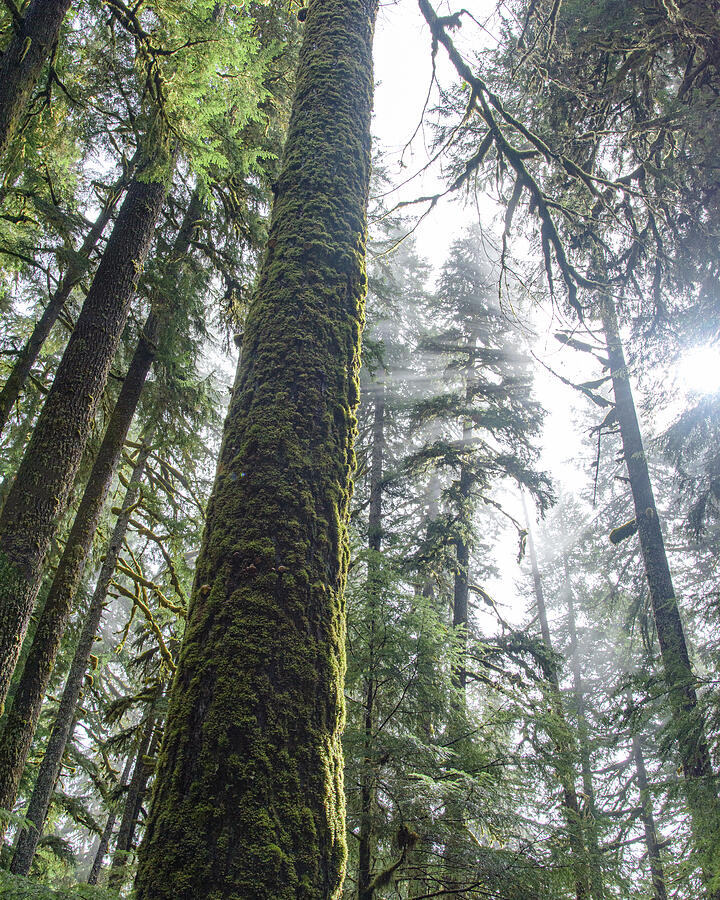
A forest canopy can provide a transition between wildlife photographs. It gives the viewer a sense of habitat without repeating another animal pose. Supporting frames should still be intentional: inspect edges, highlights, and the direction of the trunks. A collection made entirely of hero images can feel repetitive. One quieter frame can create space around the pictures that deserve the most attention.
Put it into practice
Start with 20 photographs and make three groups: essential, supporting, and alternate. Select five essentials, then allow only two supporting images. For each inclusion, write one sentence explaining what would be lost if you removed it. Save alternates separately; do not delete originals. Revisit the shortlist the next day and check whether your opening image still makes the clearest promise.