Framing and leading lines: guide the eye through your photograph
Learn to create depth and direction with three examples from the gallery: canyon walls, an Inca Trail stone path, and the approach to Dead Woman’s Pass.
 View this photograph & print options →
A photograph can contain a beautiful subject and still feel difficult to read. Composition helps give the viewer a starting point and a route through the scene. Two useful tools are framing and leading lines. Neither is a rule you must follow; both are ways to make the relationship between your subject and its surroundings more deliberate.
Framing: a picture within the picture
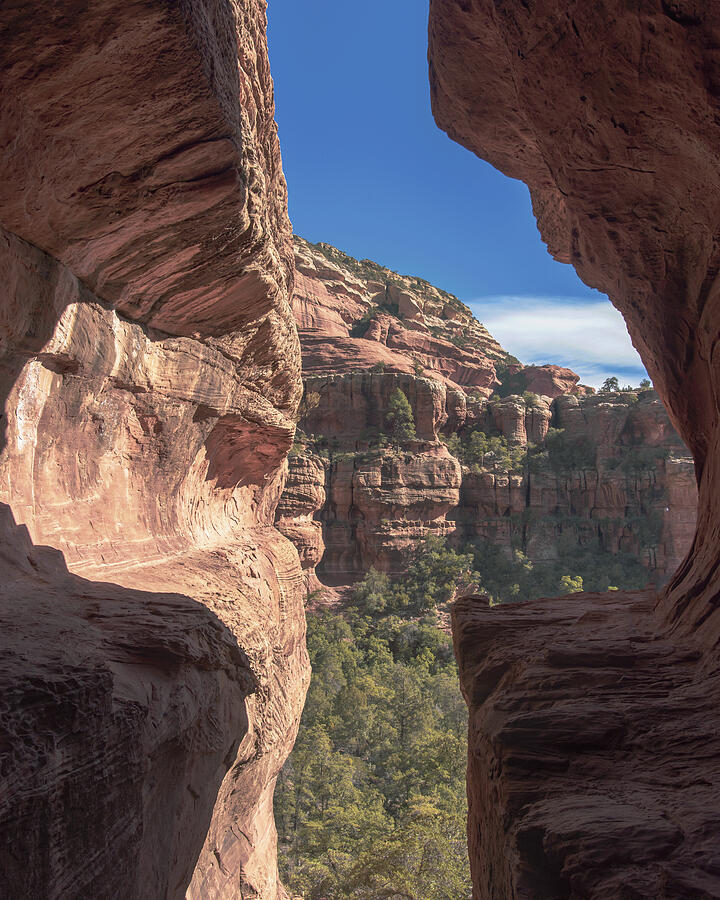
A natural frame uses nearby shapes to surround or partly enclose a more distant subject. Think of canyon walls, branches, an arch, or a doorway. The frame does not need to close on all four sides. Even one foreground edge can create a sense of looking into a scene.
In Canyon View Framed by Rocky Cliffs, the close rock faces surround an opening onto a more distant canyon. Their large, textured surfaces establish the foreground; the smaller trees and distant cliffs establish depth. The darker rock along the edges also helps the brighter opening stand out. Notice that the frame is irregular rather than perfectly symmetrical: it still gives the eye a clear place to look.
Leading lines: give the eye a route
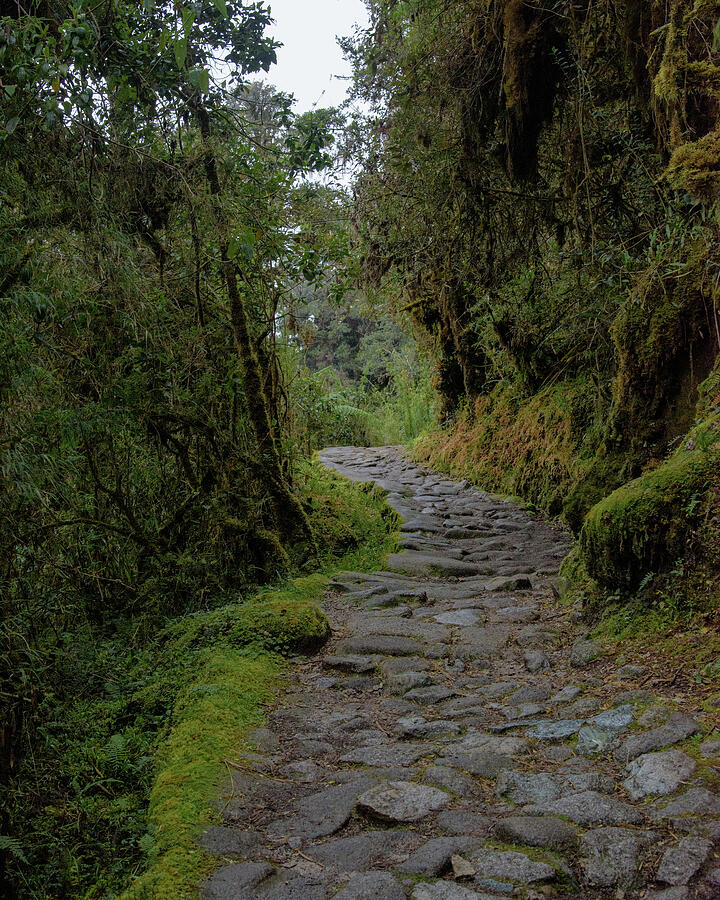
Leading lines are shapes or edges that encourage the eye to move through a photograph. Roads and paths are obvious examples, but rivers, ridgelines, shadows and rows of stones can do the same job. A line can be straight, diagonal or curved. What matters is where it starts, where it leads, and whether that journey supports the subject.
In Moss-Covered Path Through Lush Forest on the Inca Trail, the stone path begins close to the viewer and narrows as it curves into the vegetation. The repeated stones create texture and rhythm, while the bend encourages the eye to continue into the scene. The plants at the sides also act as a loose frame. Here, framing and leading lines work together rather than competing.
Let the line support the landscape
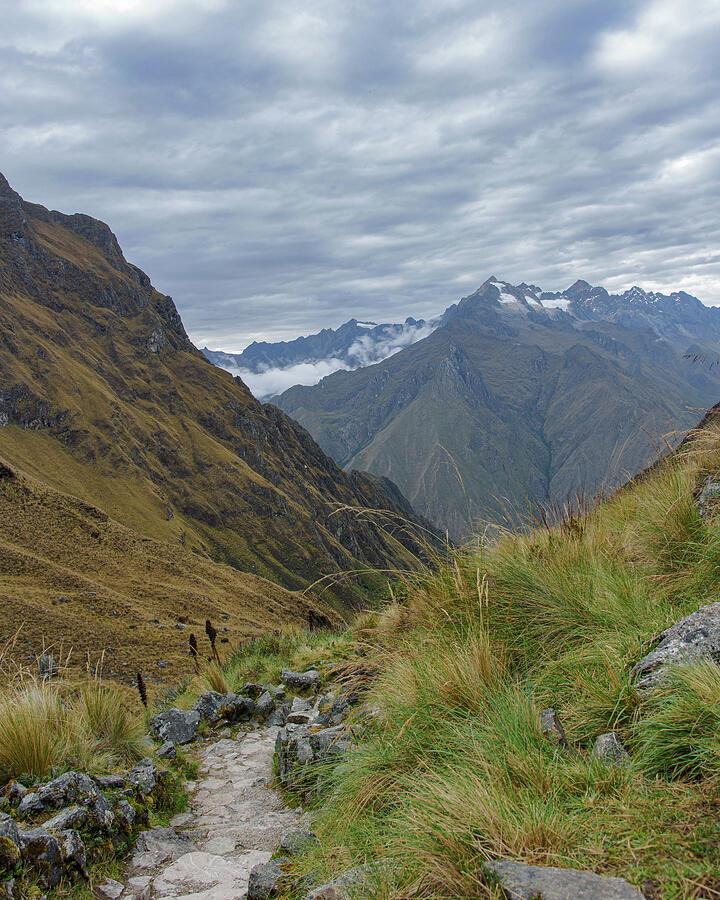
In Trail Through Majestic Mountain Landscape to Dead Woman’s Pass, the foreground trail gives the viewer a foothold in a much larger mountain scene. Its winding shape connects the immediate ground with the valley beyond. It does not need to point precisely at a single summit to be useful: the route through the photograph is part of the subject.
Build the composition with your feet
Start by identifying what you want someone to notice. Then look for a foreground shape that supports it. Move a small distance left or right, or change your camera height, and watch how the frame and line shift. A lower viewpoint can emphasize nearby stones; a higher viewpoint may separate an overlapping trail from the background. Keep to a safe, permitted position on the path.
Before pressing the shutter, scan the edges. Does a bright patch pull attention away? Does the foreground block the subject? Does your line lead out of the frame before the viewer reaches anything meaningful? Simplifying the scene can help more than adding another compositional device.
A frame does not have to be sharp. Use a smaller aperture when detail across several distances matters, while remembering that focus distance and lens choice also affect depth of field. If the foreground frame is only a soft suggestion, a wider aperture may suit the image. Check the result rather than relying on one universal setting.
A simple exercise
Choose one scene and make three photographs: one without an obvious frame or line, one with a natural frame, and one built around a leading line. Keep the main subject consistent. Compare where your eye lands first, how it moves, and which version best expresses what drew you to the scene. The goal is not to collect rules—it is to make each part of the photograph earn its place.