Reading the light: texture, contrast, and silhouettes
Learn to recognize reflected light, reveal texture, and decide when a silhouette tells the stronger story.
 View this photograph & print options →
Light determines more than exposure. Its direction, softness and relationship to the subject influence which shapes feel three-dimensional and which details receive attention. Before reaching for a setting, ask what the light is doing. These photographs offer three different ways to answer that question; they are visual examples, not claims about the original camera settings.
Notice the light that arrives indirectly
In Antelope Canyon Curves and Light Play, bright surfaces sit beside deep shadows, and warm color travels across curved rock. Light reflected from surrounding surfaces can illuminate areas that do not face the sky directly. Look for a transition from bright to dark across a curve: that gradual change often tells you more about the shape than a uniformly lit surface would.
Start by watching the scene without the camera. Which surfaces face the light? Which receive reflected light? Move your viewpoint slightly and compare how the illuminated edges overlap. A compelling composition may depend on one narrow band of light rather than an evenly bright scene.
Use contrast to describe texture
Curves of Sunlit Antelope Canyon Walls shows how brighter ridges and darker recesses describe the sandstone. Light traveling across a surface often makes relief and texture easier to see. That does not mean every shadow needs to become bright in the final image. Some darkness is what makes the shape readable.
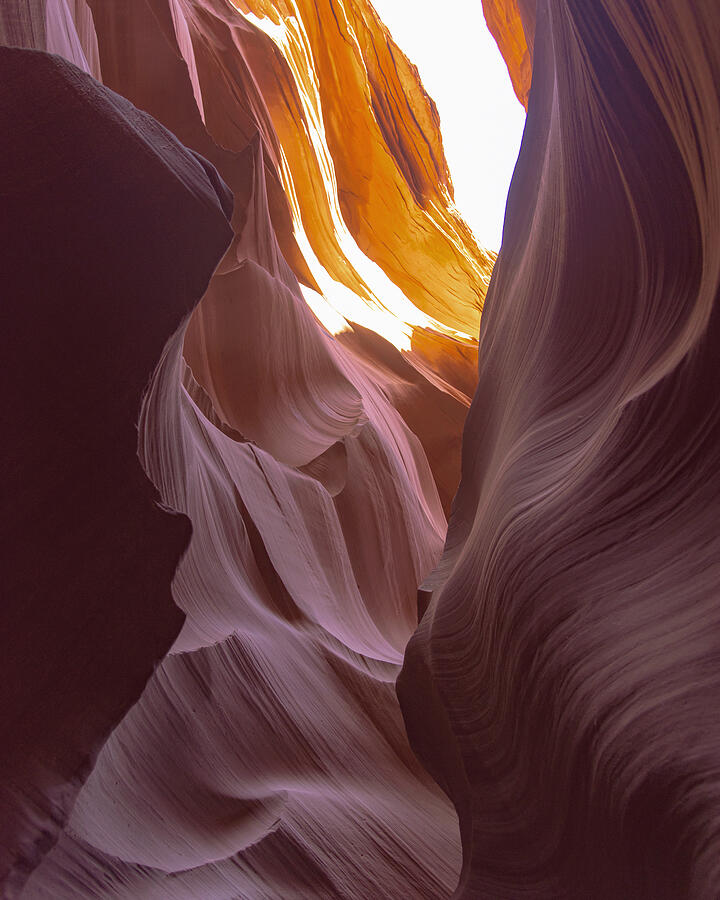
Check the histogram and highlight warnings as you refine the exposure. Decide which bright areas contain important detail. If those areas are clipping, reduce exposure and inspect the result. A tiny bright opening may be less important than the texture of the rock around it. If a static scene exceeds the range your camera can capture and you intend to blend exposures later, bracket deliberately; do not assume a single exposure must recover everything.
Recognize when detail is unnecessary
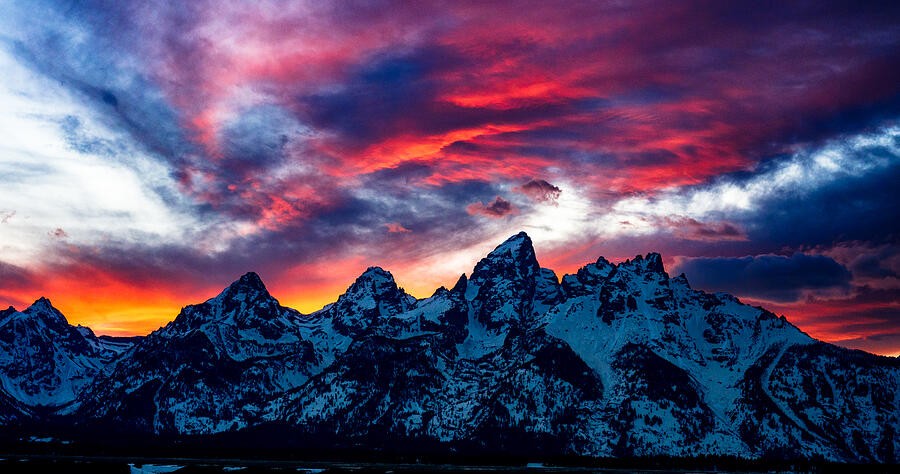
In Vivid Twilight over Rocky Silhouette, the dark landscape provides a clear boundary beneath the colored sky. The silhouette works because its outline is recognizable and the sky supplies the visual interest. Trying to reveal every foreground detail could weaken that simple relationship.
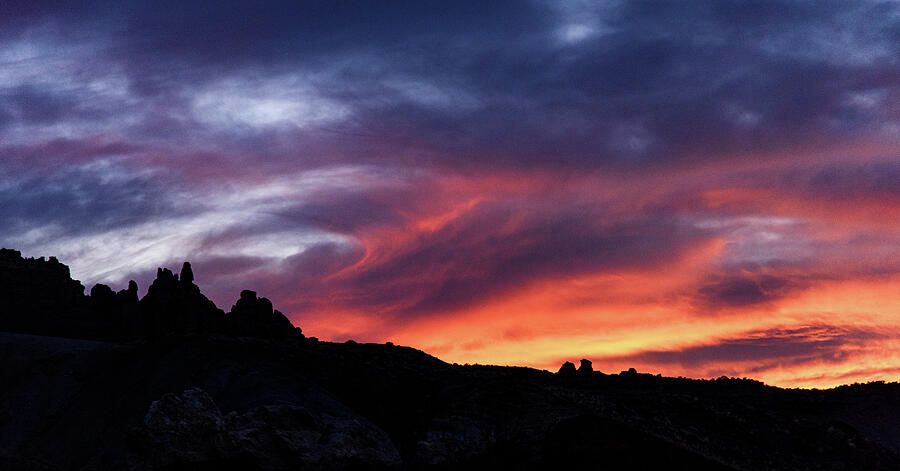
For your own silhouette, choose a viewpoint that separates the foreground shapes. Watch for two forms merging into an unreadable mass. Expose with the important sky tones in mind, then check that the subject’s outline still communicates what you want. Keep the horizon placement intentional: give more space to whichever part of the scene carries the story.
A field exercise
Photograph one subject with three priorities: preserve texture in a bright area, emphasize a transition from light to shadow, and simplify the subject into a silhouette if the scene permits it. Review the frames side by side. Ask where your eye goes first and which details you actually needed. The best exposure is the one that supports the photograph you are trying to make, not necessarily the one that makes everything equally visible.